Ruby on Rails (RoR) is my favorite web framework, and today I will share an AWS serverless framework of RoR: Ruby on Jets. I’m not an AWS expert and even have no AWS certifications, and besides, this is my first time to use AWS Lambda, API gateway, dynamodb, and other serverless services.
Preparation:#
- Add
aws_access_key_idandaws_secret_access_keyto~/.aws/credentials - Docker / Docker-compose I use in this demo.
Let’s look at initial project structure: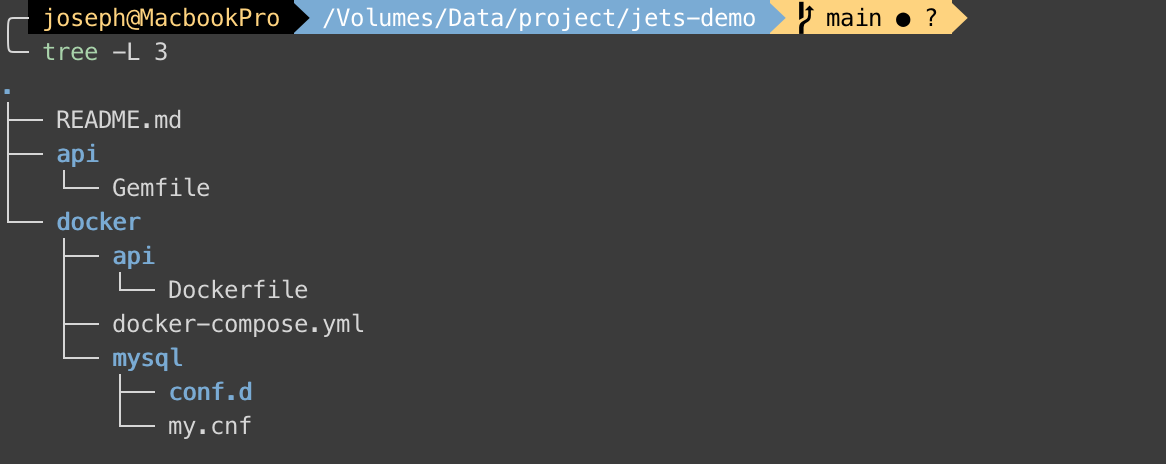
There’s my Gemfile, Dockerfile, and docker-compose.yml
Gemfile
1 | source "https://rubygems.org" |
Dockerfile
1 | FROM ruby:2.7 |
docker-compose.yml
1 | version: '3' |
Then, We go to docker folder to run docker-compose run api jets new . --database=mysql to install gems and generate Jets project.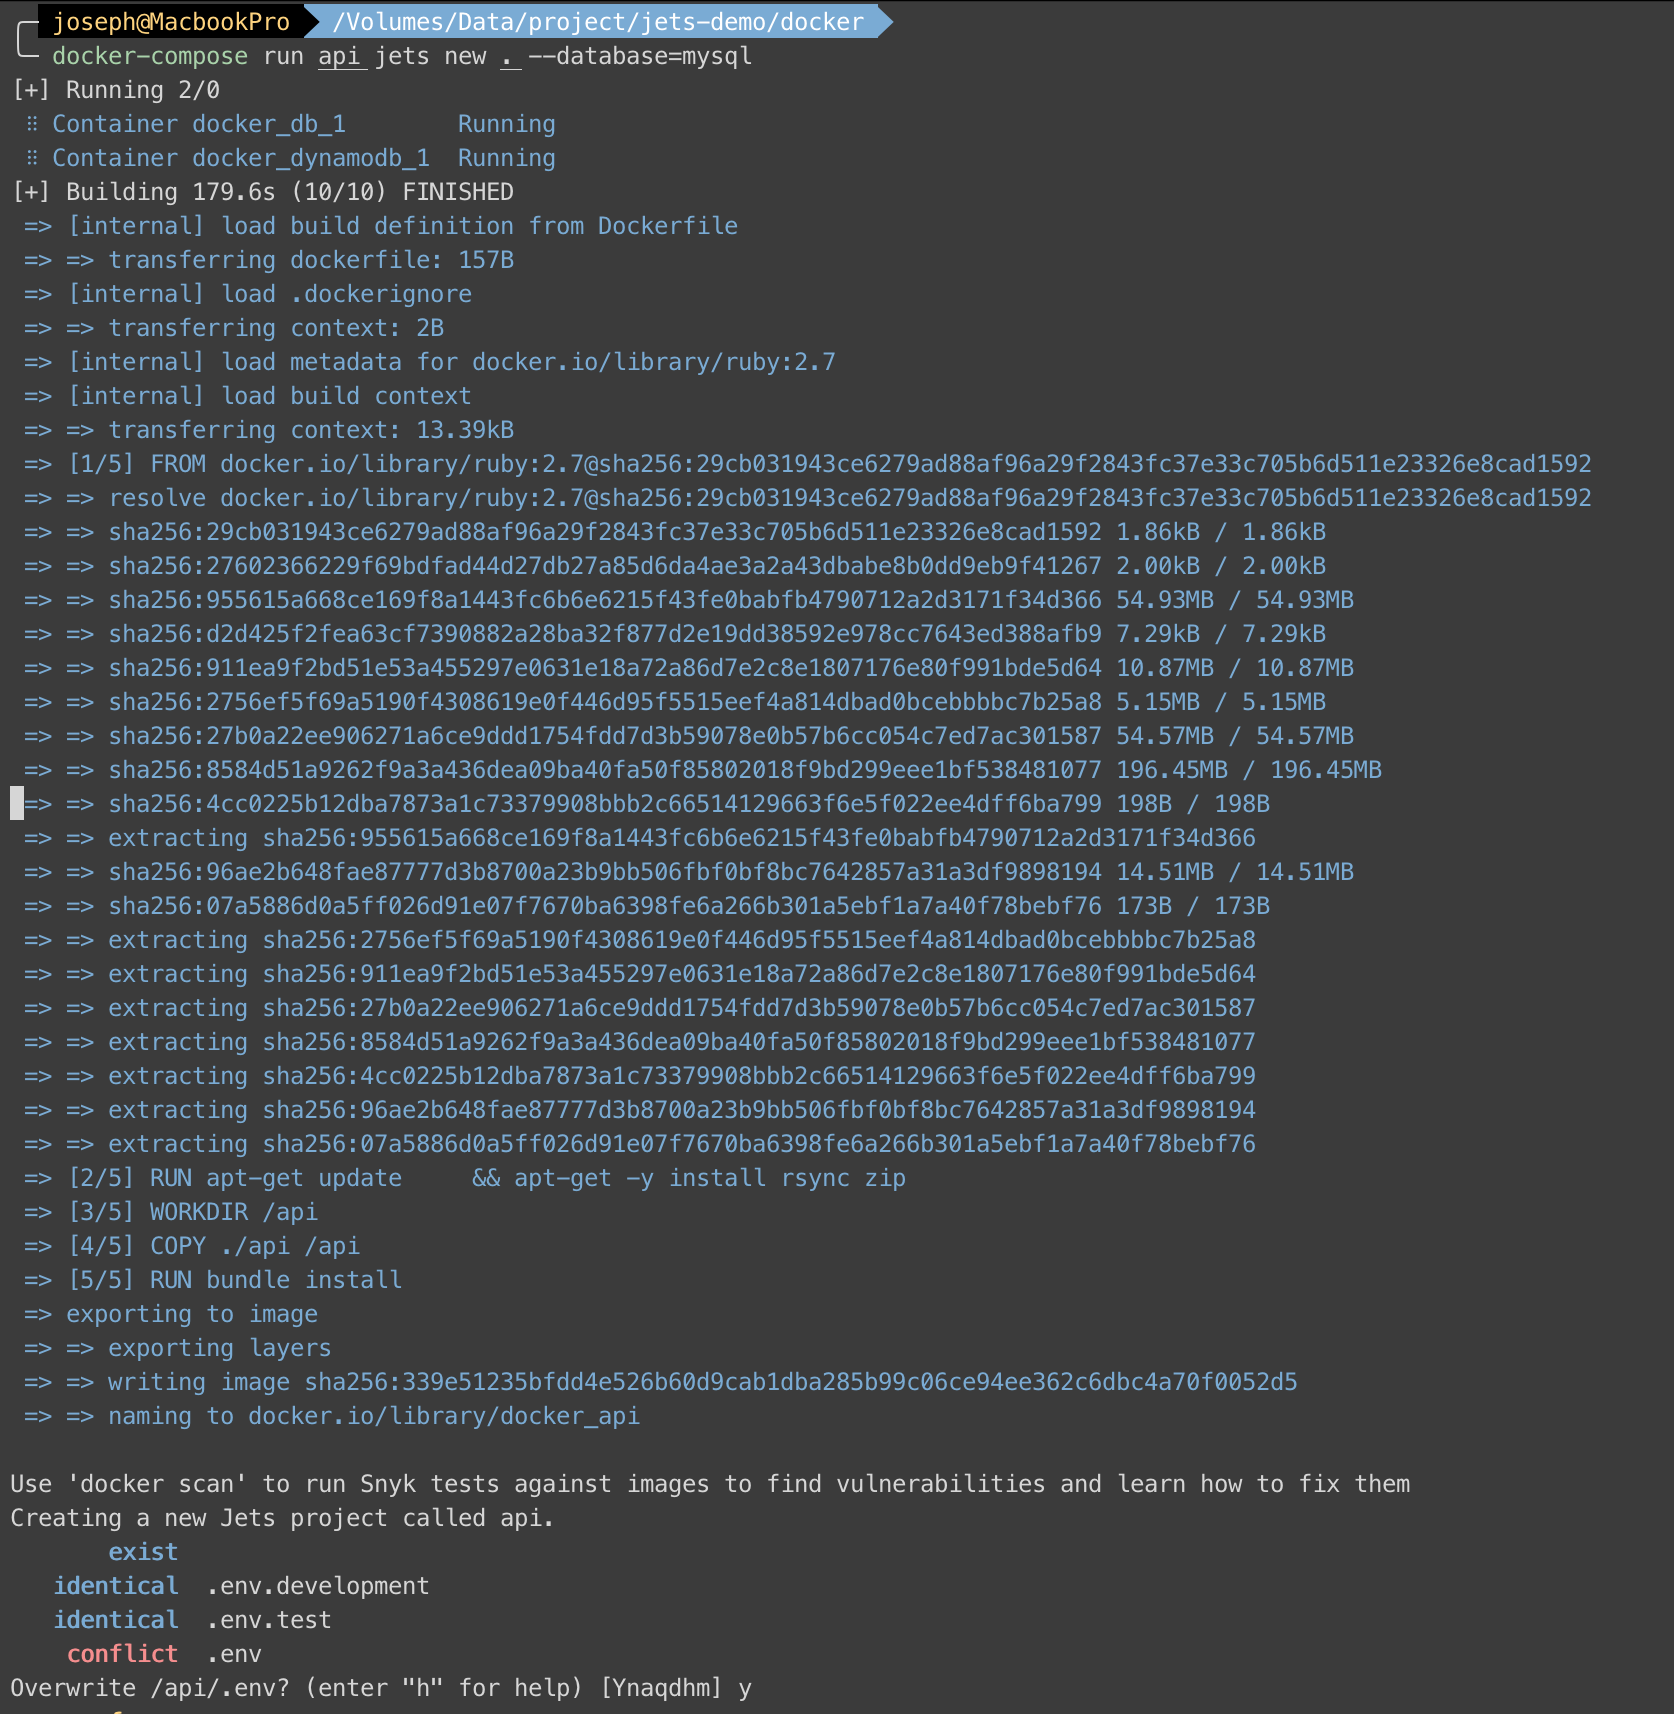
Now we can use docker-compose up --build to build api, db, and dynamodb containers.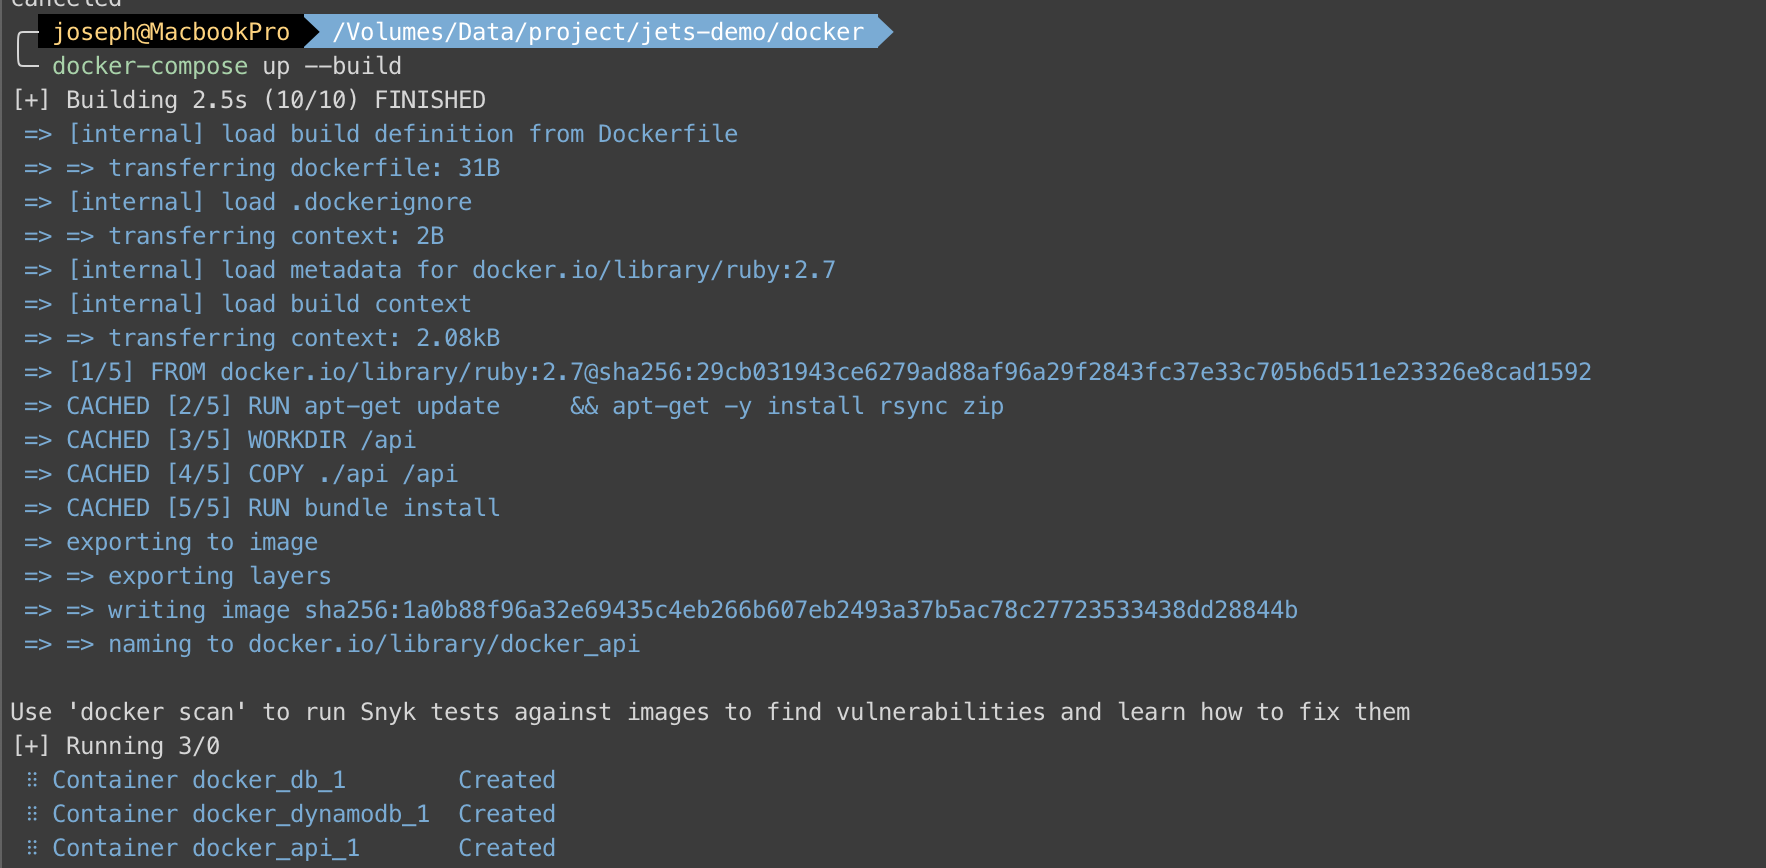
Can you see it? >> localhost:3000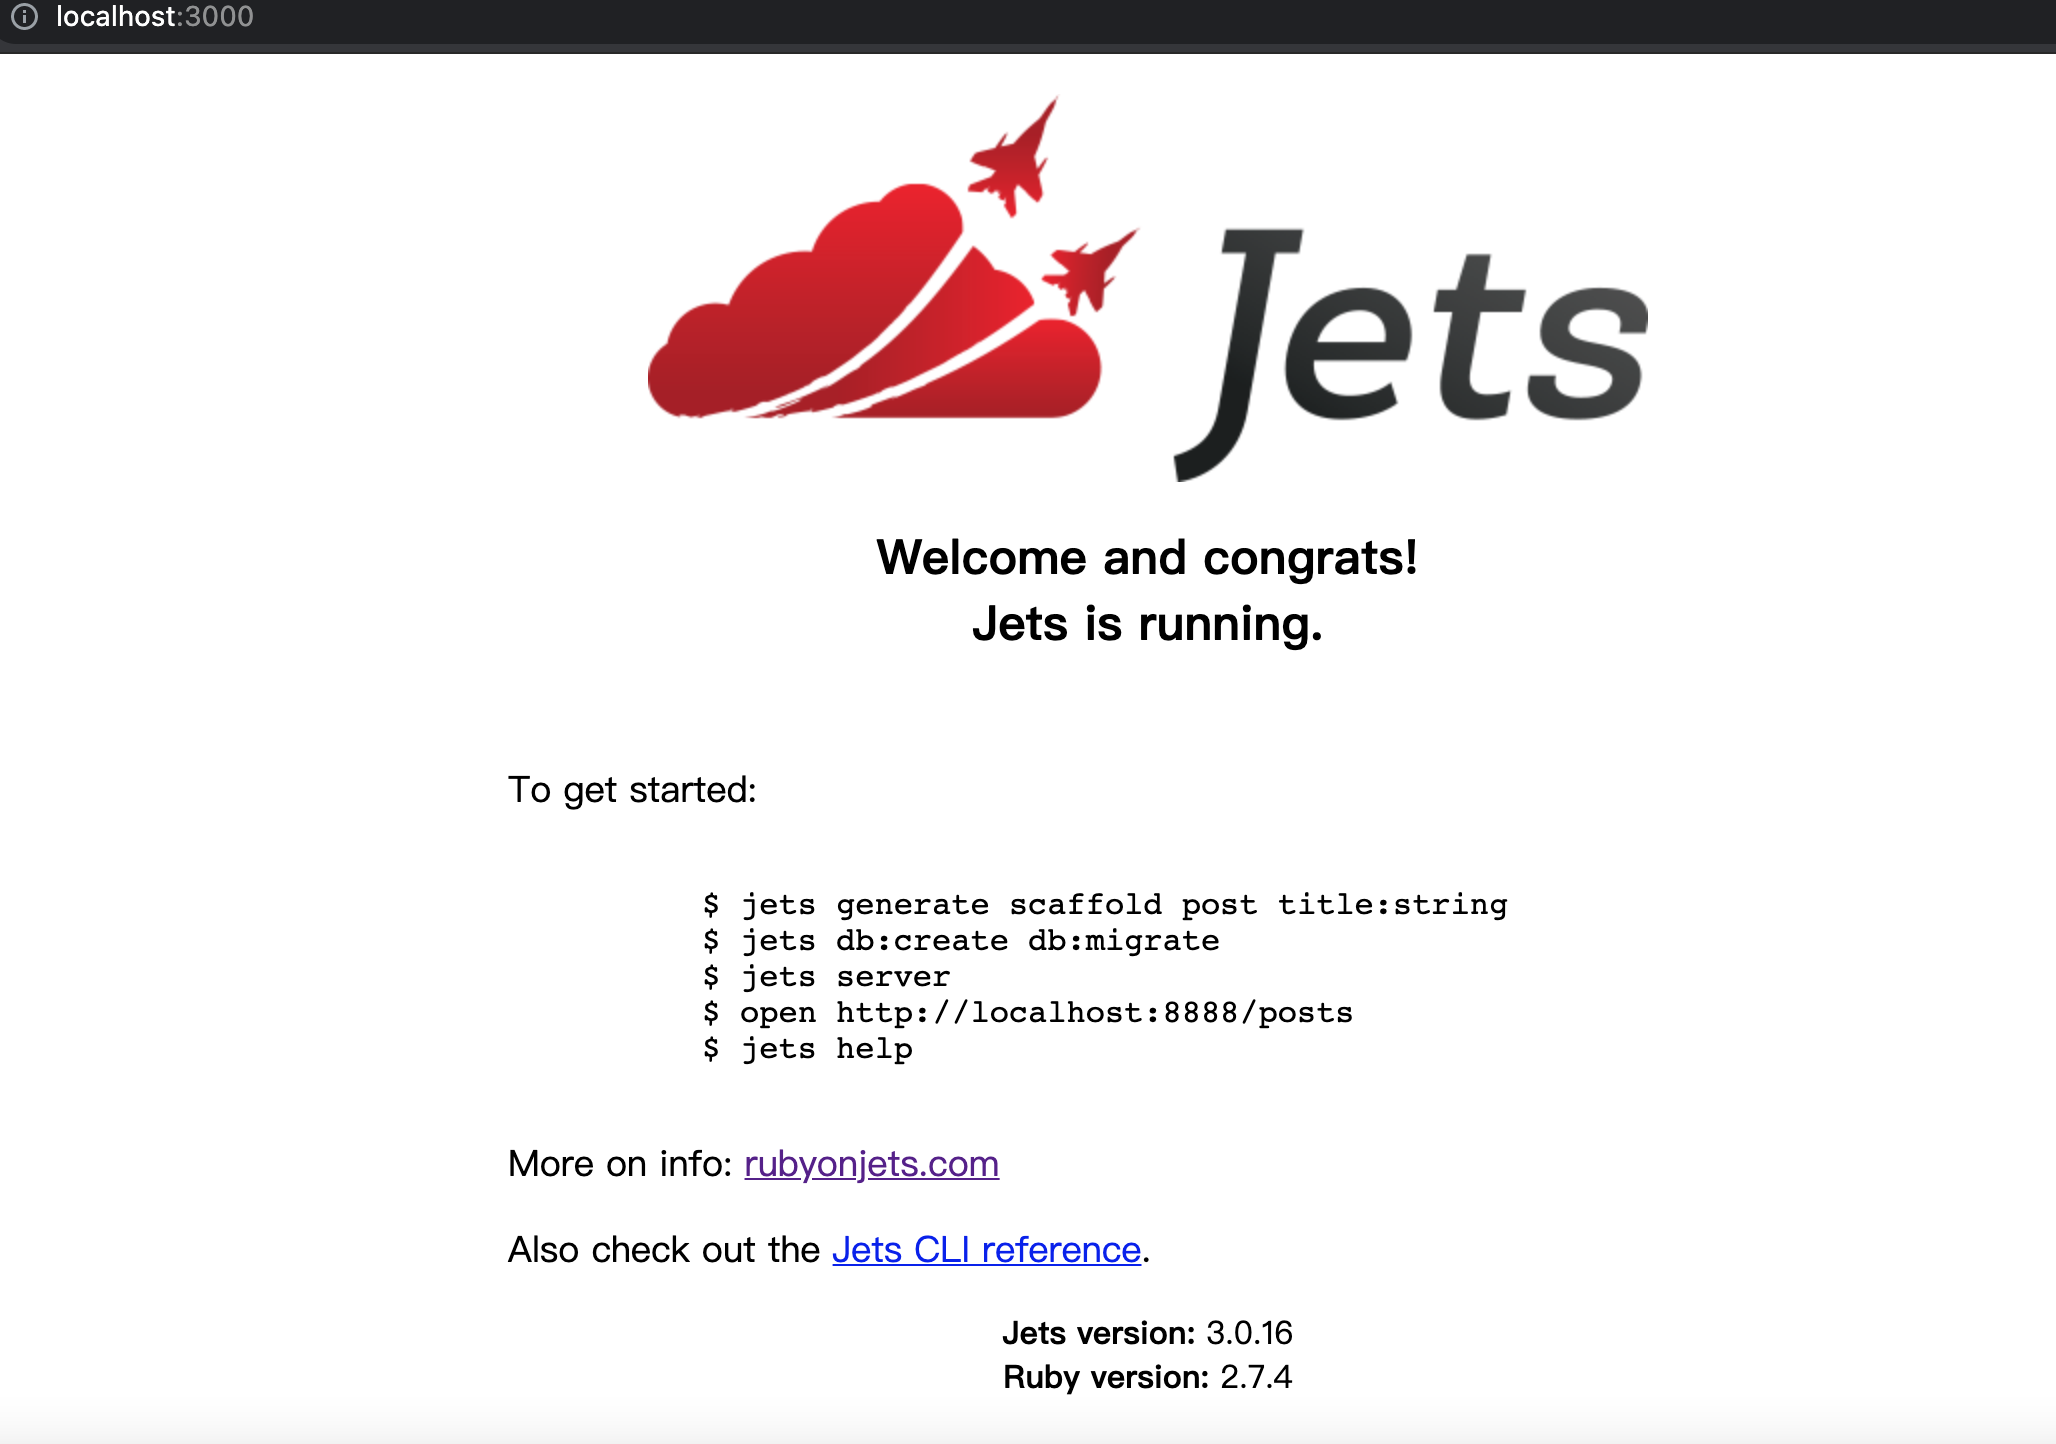
Let’s CRUD#
We have to grant DB user first:
In docker folder
1 | $ > docker-compose exec db /bin/bash |
In db container
1 | root@db0c0d54dfef:/# mysql -uroot -p |
After granting docker permission, we can generate scaffold, create database and install webpacker by using jets:
1 | docker-compose exec api jets generate scaffold post title:string |
Go to localhost/posts and see the result: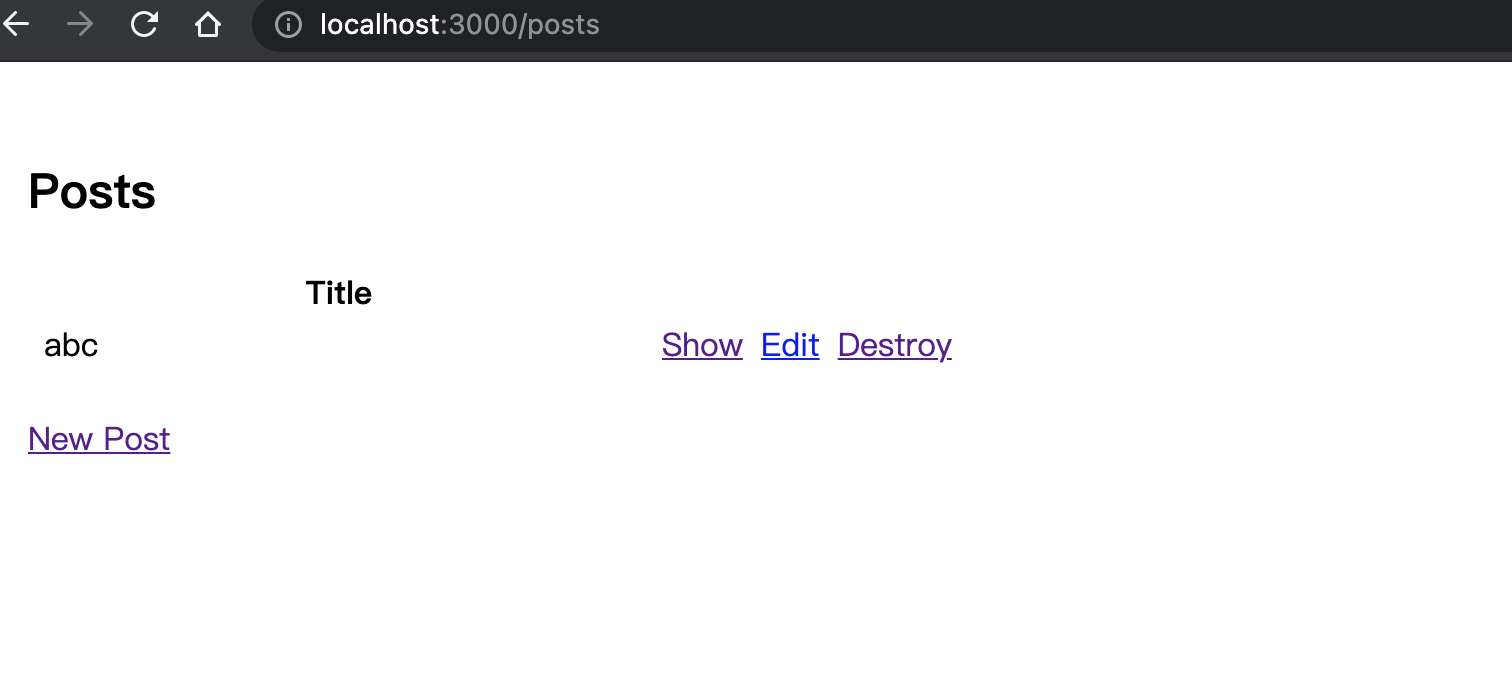
Finally, we are ready to deploy. env-file shows how to set environments. Let’s go to AWS RDS create a MySQL RDS, and set value to .env.development.remote.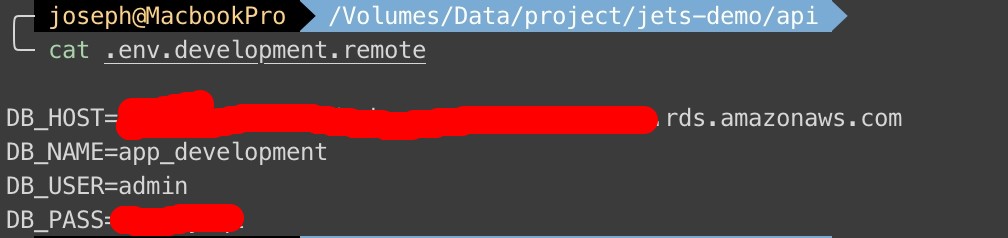
Well done! Deploy it.
1 | docker-compose exec api sh -c 'JETS_ENV_REMOTE=1 bundle exec jets db:create db:migrate' |
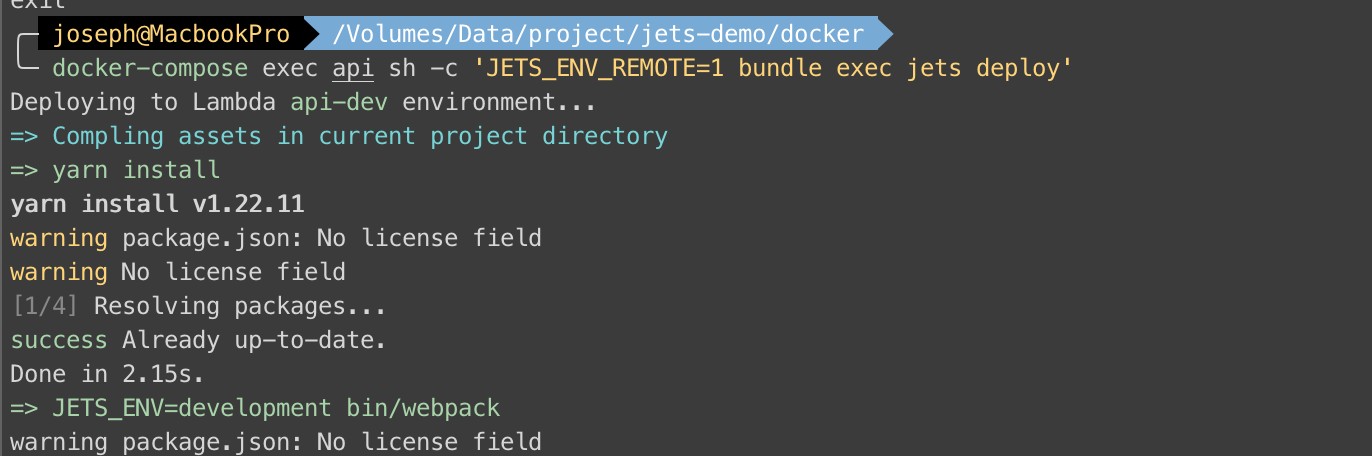
…….Waiting……
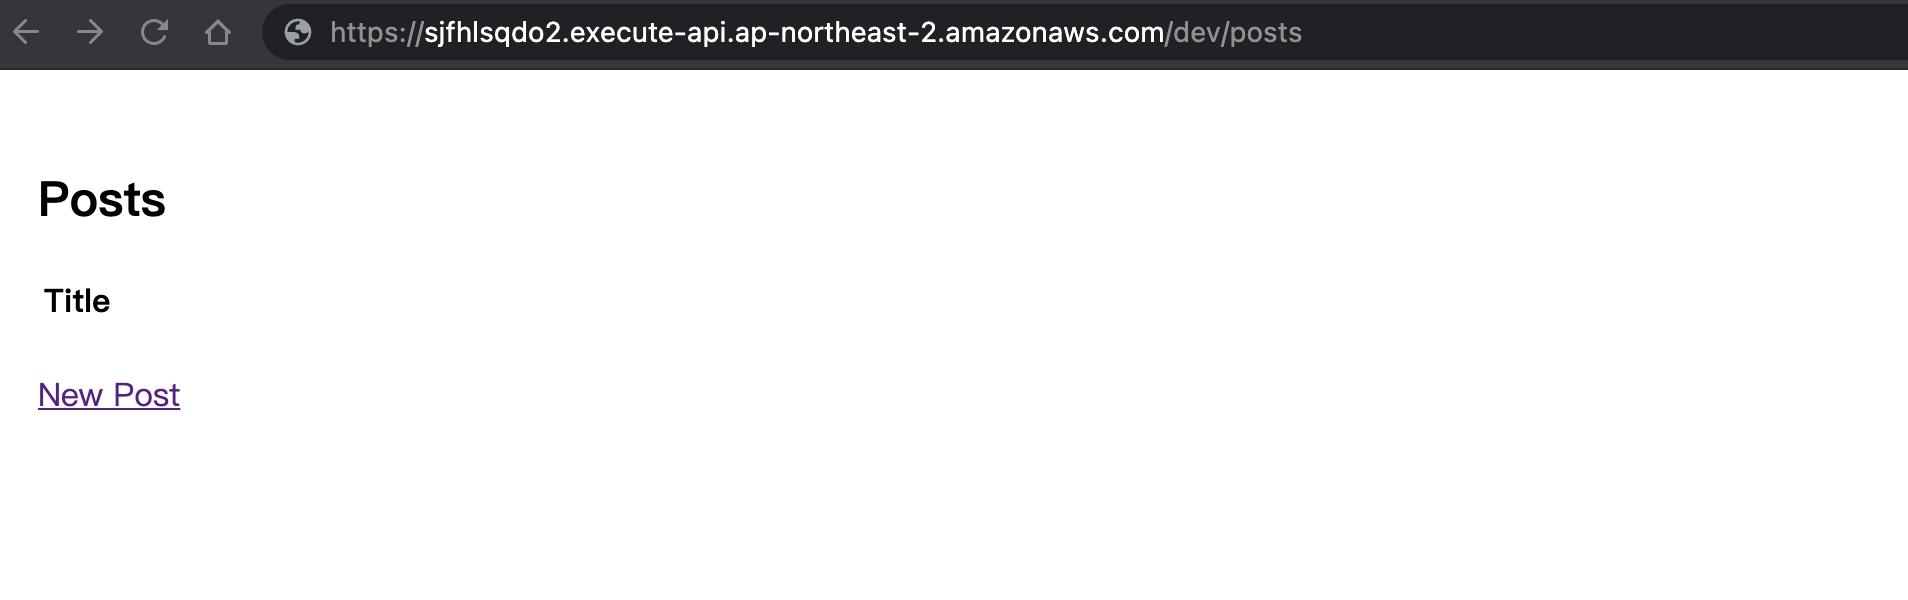
We will get a URL, and we can get the page by clicking URL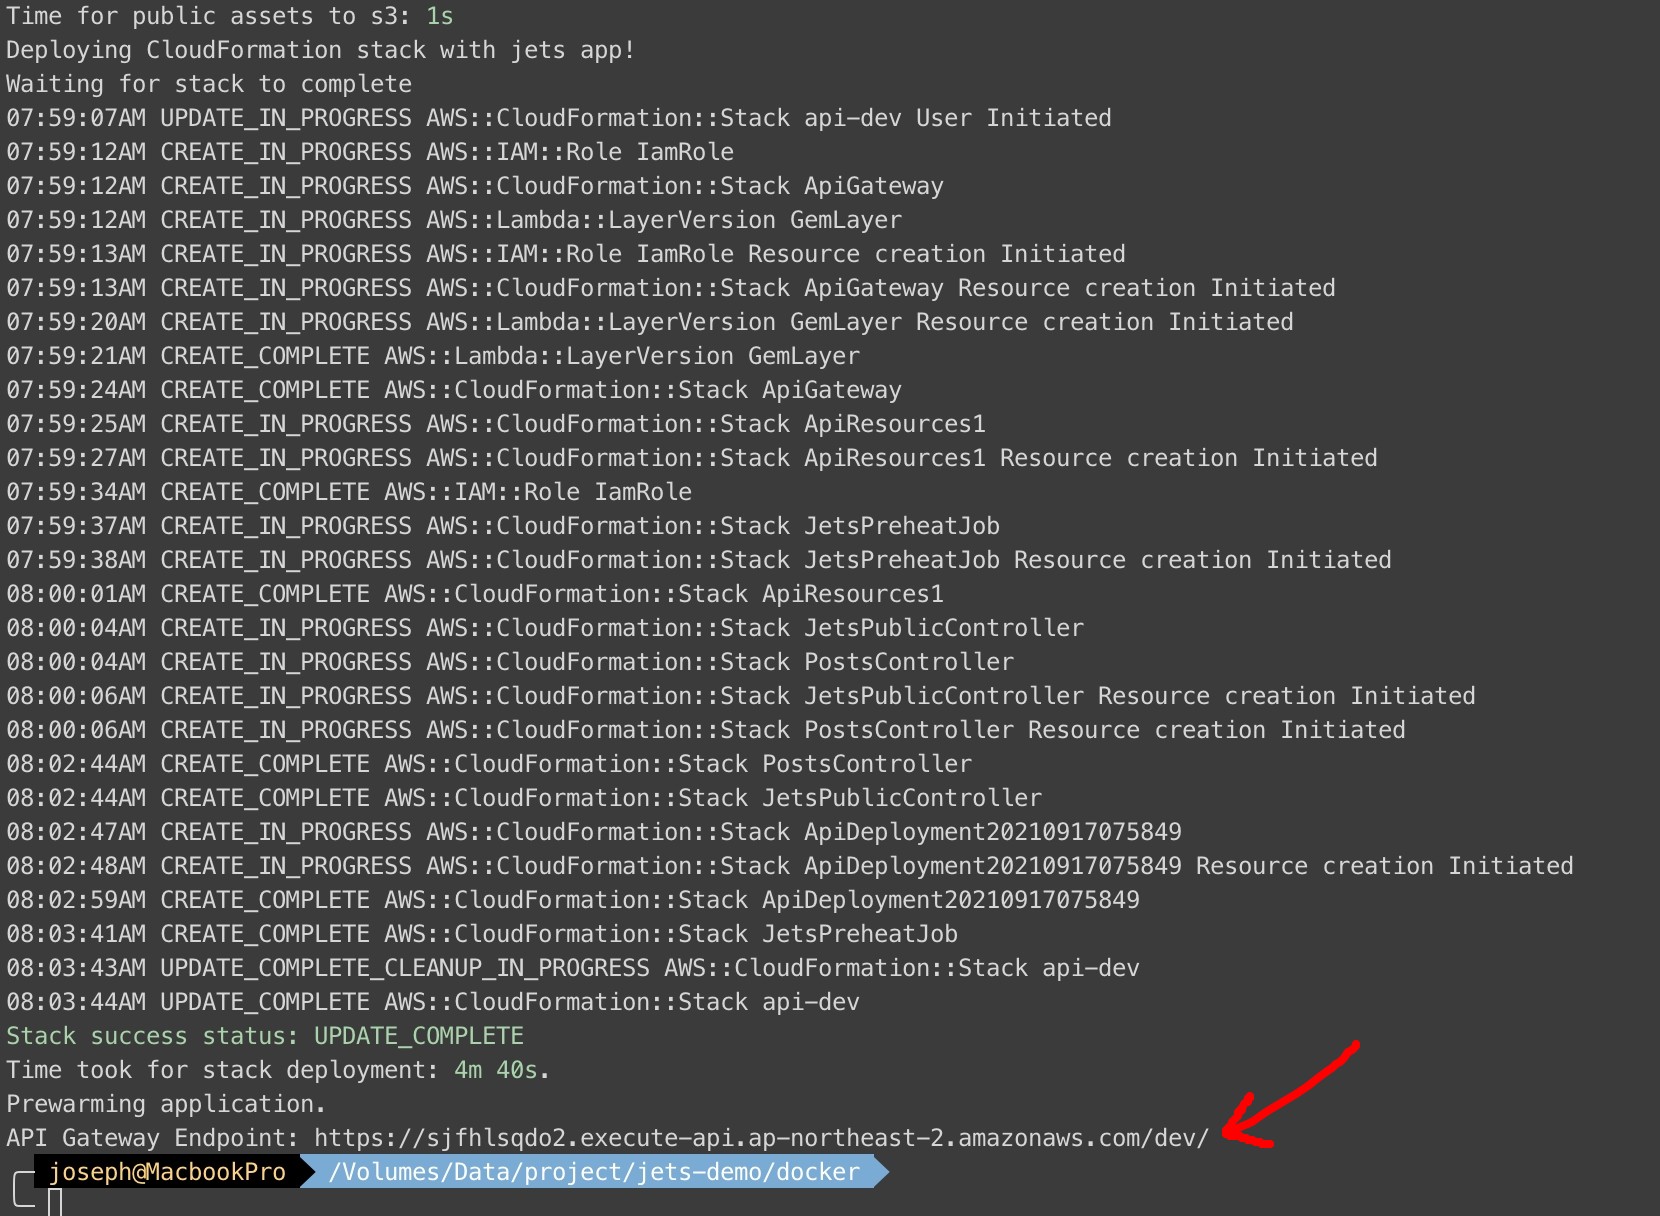
That’s all. But I have to mention that if you get ERROR: Limit Reached when you deploy, you need to check serverlessgems rate-limits page. That’s why we eventually used AWS CDK and changed the language to Typescript in our Firstage All-in-one blog.
Next time I will introduce AWS CDK and which services we use.