· Joseph · AI & Machine Learning · 4 min read
[Day 2] BMAD-Method and OpenCode installation

今天來個單純一點的,安裝BMAD-Method跟OpenCode。BMAD-Method在專案根目錄安裝就好,他只是把流程跟team, role的設定黨寫入資料夾而已。而OpenCode則是像Gemini, Claude code那樣的 The AI coding agent built for the terminal ,但因為我IDE是neovim,用他是為了方便在neovim裡使用。
TOC
BMAD-Method
首先我們先建立一個專案資料夾 project-1,然後在資料夾下操作安裝。
$ mkdir ~/project/bmad-method/project-1
$ cd ~/project/bmad-method/project-1 接著跑下關鍵指令,讓安裝精靈一步一步帶你決策
npx bmad-method install
 很快迎來我的第一個問題:我們要安裝什麼擴充包 expansion packs?
所有的pack可以參考:
我這邊單純的就選 .bmad-core 跟 .bmad-infrastructure-devops
第2, 3個問題直覺一些,就是問要不要把文件切小,我這邊選Y
? Will the PRD (Product Requirements Document) be sharded into multiple files? (Y/n) Y
? Will the architecture documentation be sharded into multiple files? (Y/n) Y
然後就看習慣的IDE,去選擇下一個IDE Configuration的選項,我這邊先暫時選 Gemini CLI跟OpenCode 
接下來是問你team的組成,我這邊先來個自己選,然後再決定要哪些teams 
跑完以後就可以看到我們專案底下安裝了很多很多的markdown files了
$ tree -L 1 -a
.
├── .bmad-core
│   ├── agent-teams
│   ├── agents
│   ├── checklists
│   ├── core-config.yaml
│   ├── data
│   ├── enhanced-ide-development-workflow.md
│   ├── install-manifest.yaml
│   ├── tasks
│   ├── templates
│   ├── user-guide.md
│   ├── utils
│   ├── workflows
│   └── working-in-the-brownfield.md
├── .bmad-infrastructure-devops
│   ├── agents
│   ├── checklists
│   ├── config.yaml
│   ├── data
│   ├── install-manifest.yaml
│   ├── README.md
│   ├── tasks
│   ├── templates
│   └── utils
├── .gemini
│   └── commands
├── AGENTS.md
├── opencode.jsonc
└── web-bundles
    ├── expansion-packs
    └── teams
但不要忘了他重要的警語
📖 IMPORTANT: Please read the user guide at docs/user-guide.md (also installed at .bmad-core/user-guide.md)
This guide contains essential information about the BMad workflow and how to use the agents effectively.
OpenCode
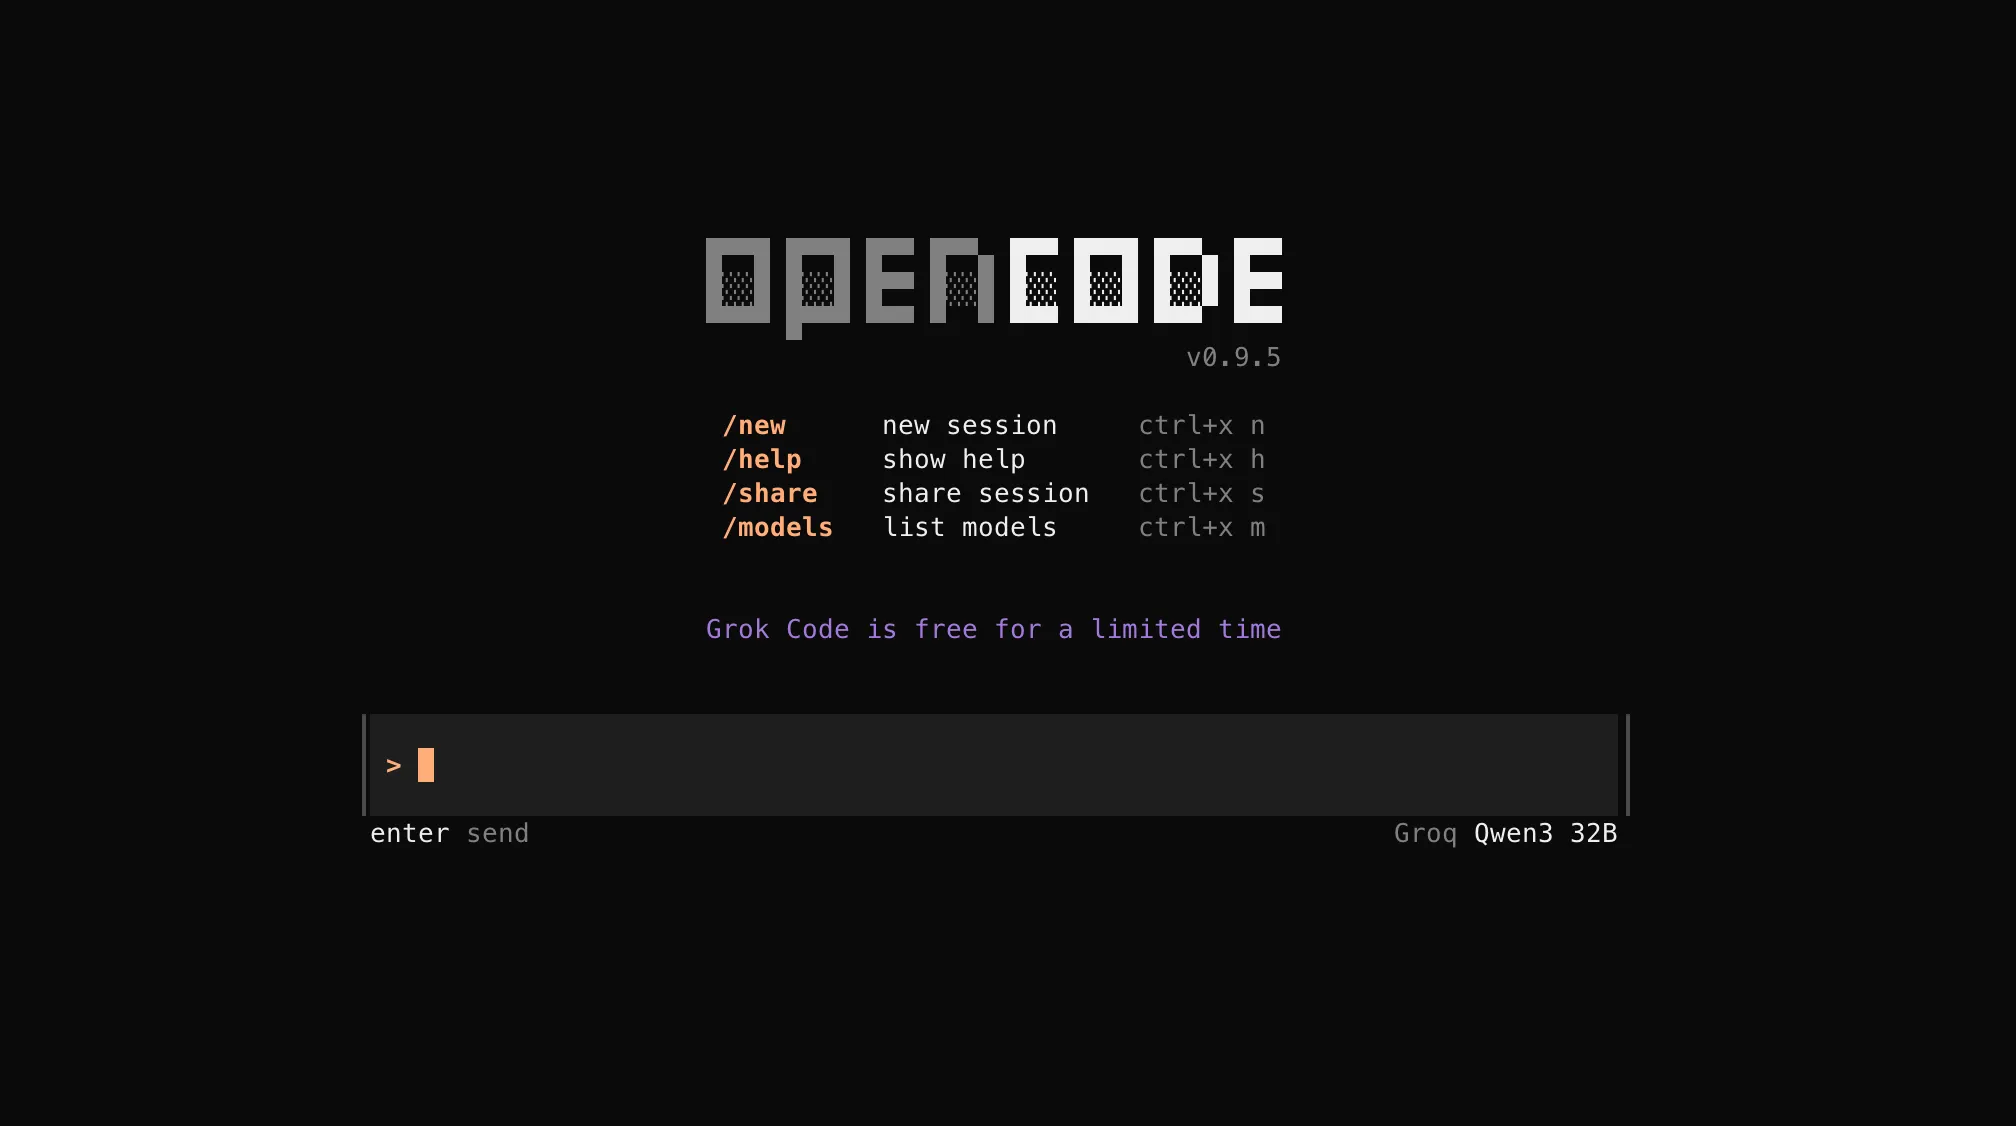
接下來是 OpenCode,我這邊也用npm安裝
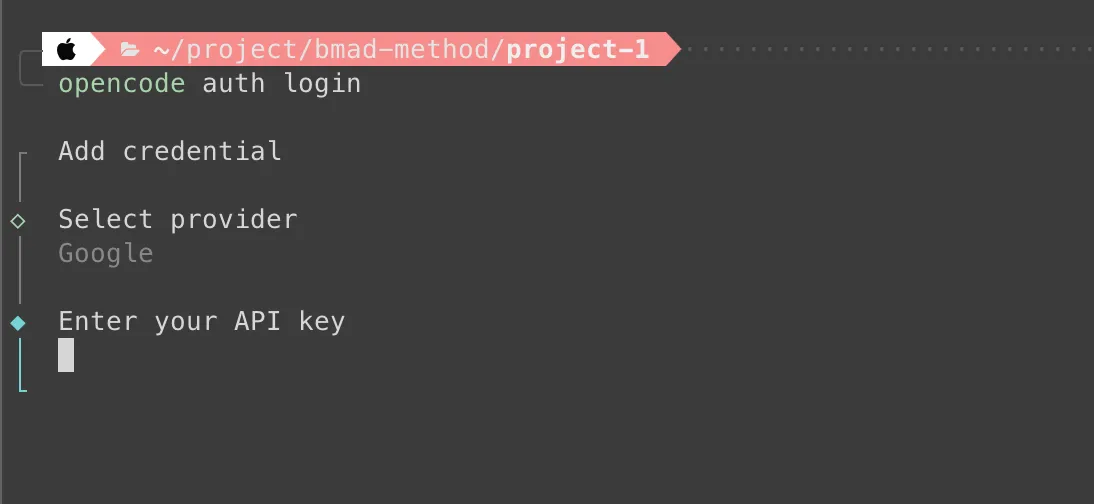
$ npm install -g opencode-ai然後跑完後直接執行 opencode auth login 先選擇你的授權登入方式,我選擇的是Google 並貼上API key就好
這也很簡單,到這邊就結束了。 我們來看看Gemini跟opencode的執行結果
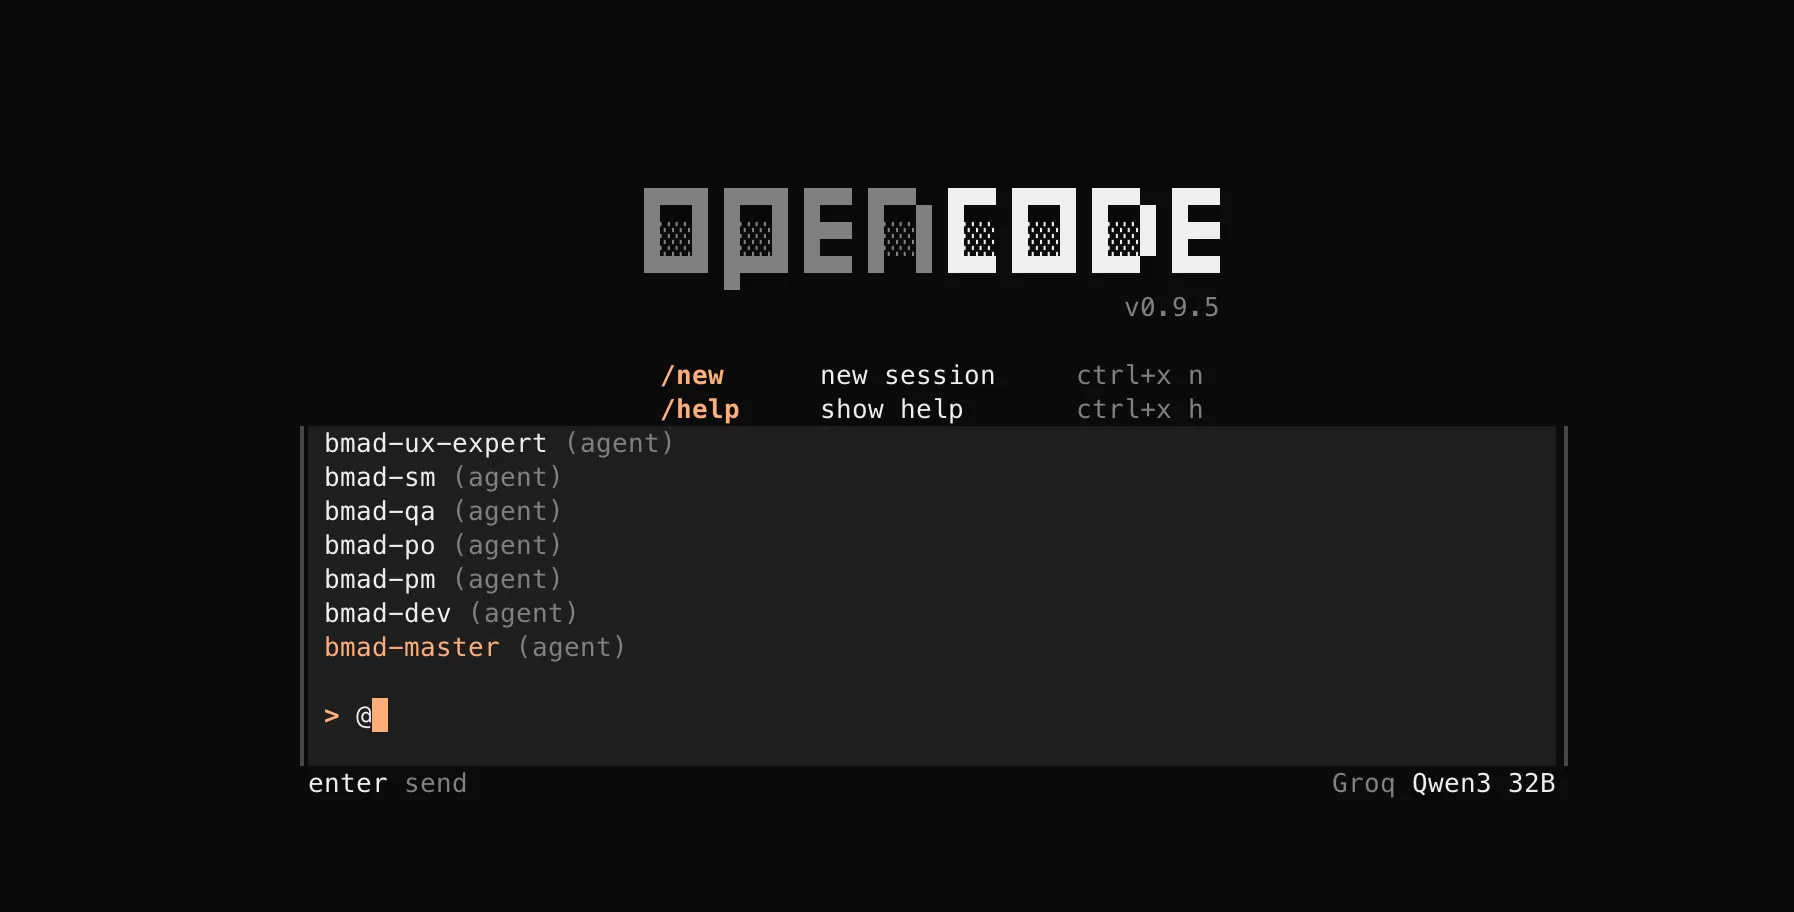
opencode 輸入
@,就可以看到bmad-method的夥伴們了
Gemini 輸入
/找到/BMad:agents開頭的夥伴
這樣就有multi-agents啦!
今天到這邊就結束囉,幾個指令稍微安裝設定一下,為了接下來幾天鋪路。 喜歡我文章的再幫忙推廣一下喔!


![[Day 30] BMAD-Method Summary](/_astro/banner.C6FR-Le0.png)
![[Day 29] BMAD-Method - Accounting App Flutter - 3](/_astro/banner.pOujF-t4.jpg)
![[Day 28] BMAD-Method v6 - part 3 - BMB](/_astro/banner.DbuP4gQ2.png)
![[Day 27] BMAD-Method v6 - part 2 - BMM](/_astro/banner.OYuhjhKo.png)