· Joseph · AI & Machine Learning · 5 min read
Use ChatGPT to translate new react-dev doc

react.dev was released on March 17. I’ve read the beta version for a while. I love the Escape Hatches section which has many correct and recommended usages about react hooks. After new react.dev released, I noticed that there’s no translation. I haven’n played OpenAI API yet, so I think this is a good opportunity to play ChatGPT with its translation feature for react.dev.
TOC
Ask ChatGPT first
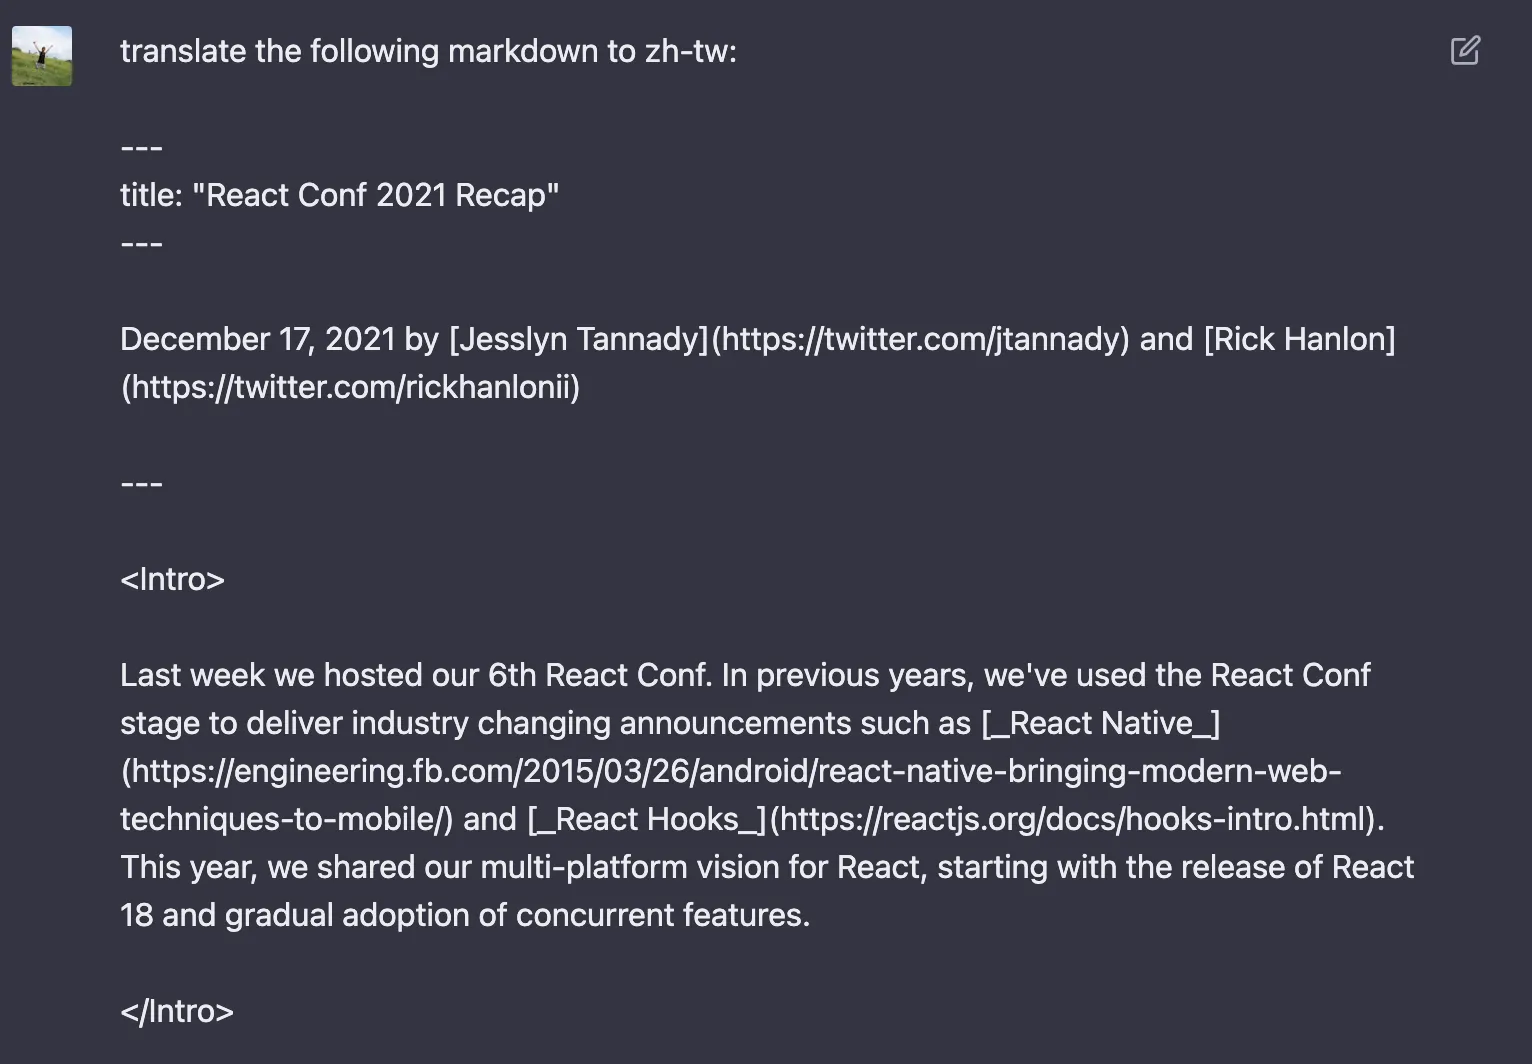
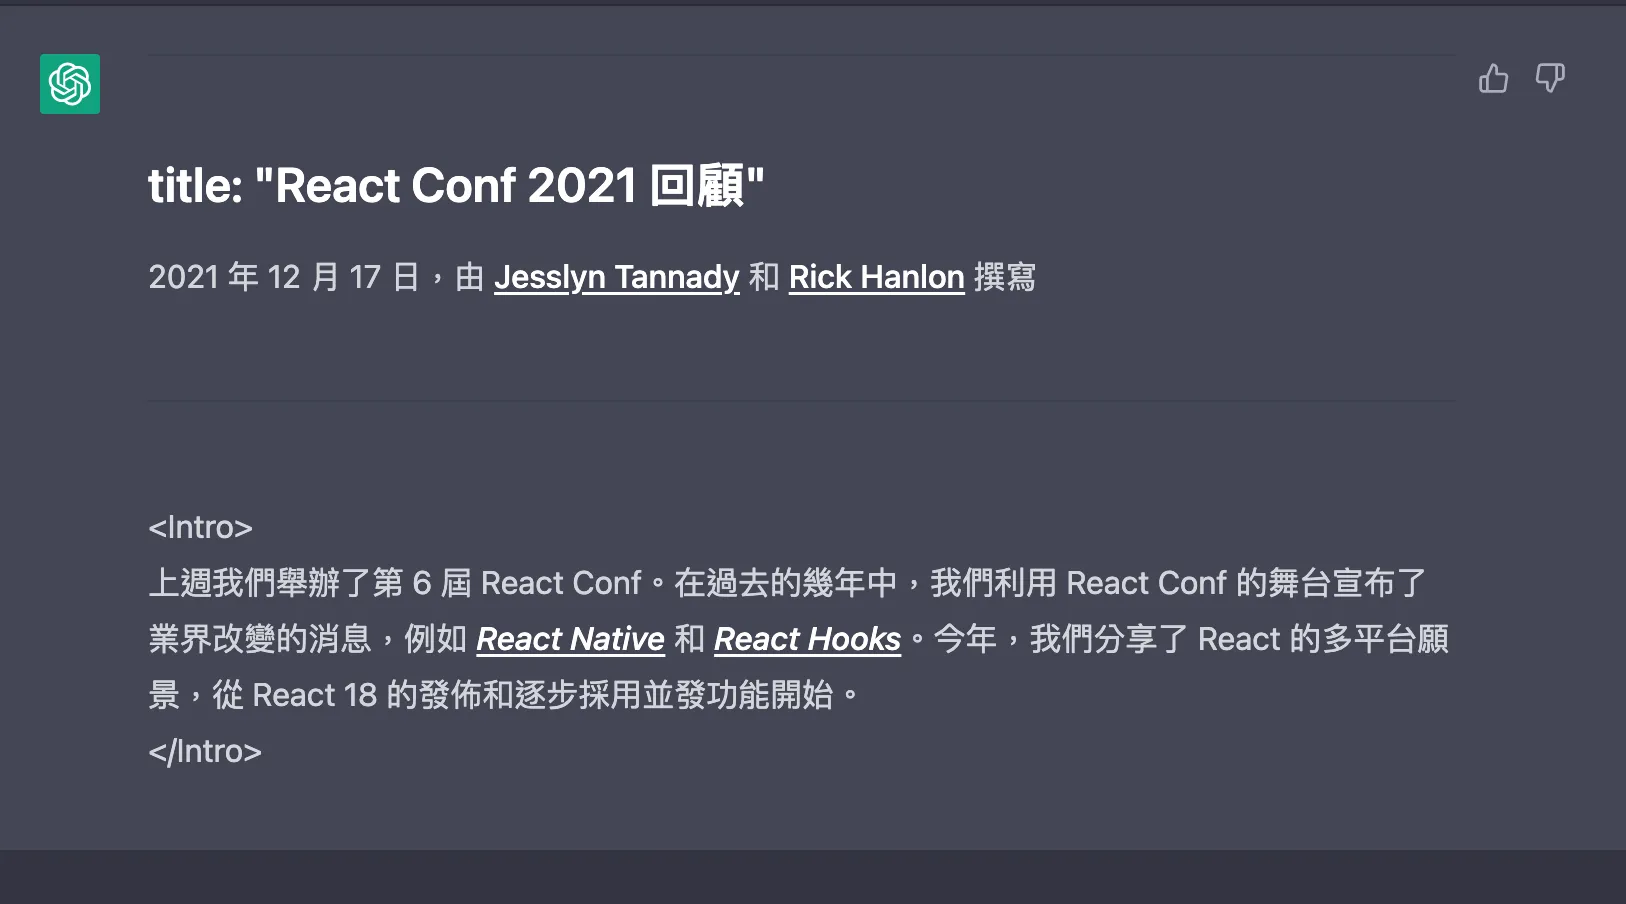
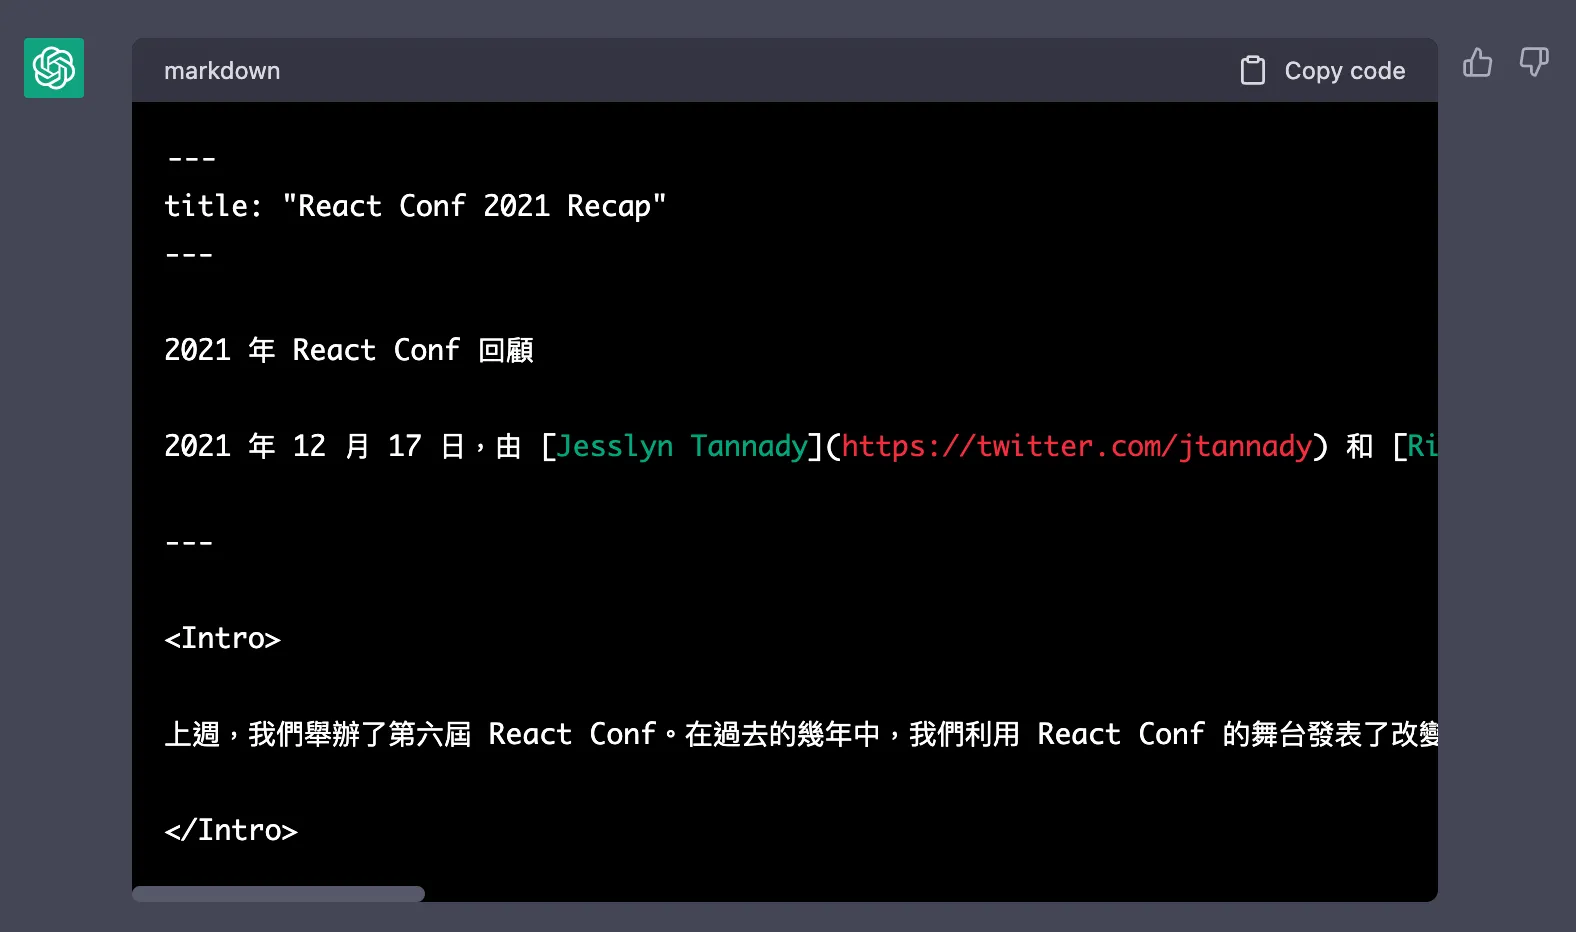
First of all, I have to check feasibility of asking ChatGPT to translate a markdown, hence I copy a part of the markdown file.
It seems to translate fine, but the markdown syntax is gone. So I ask next prompt:
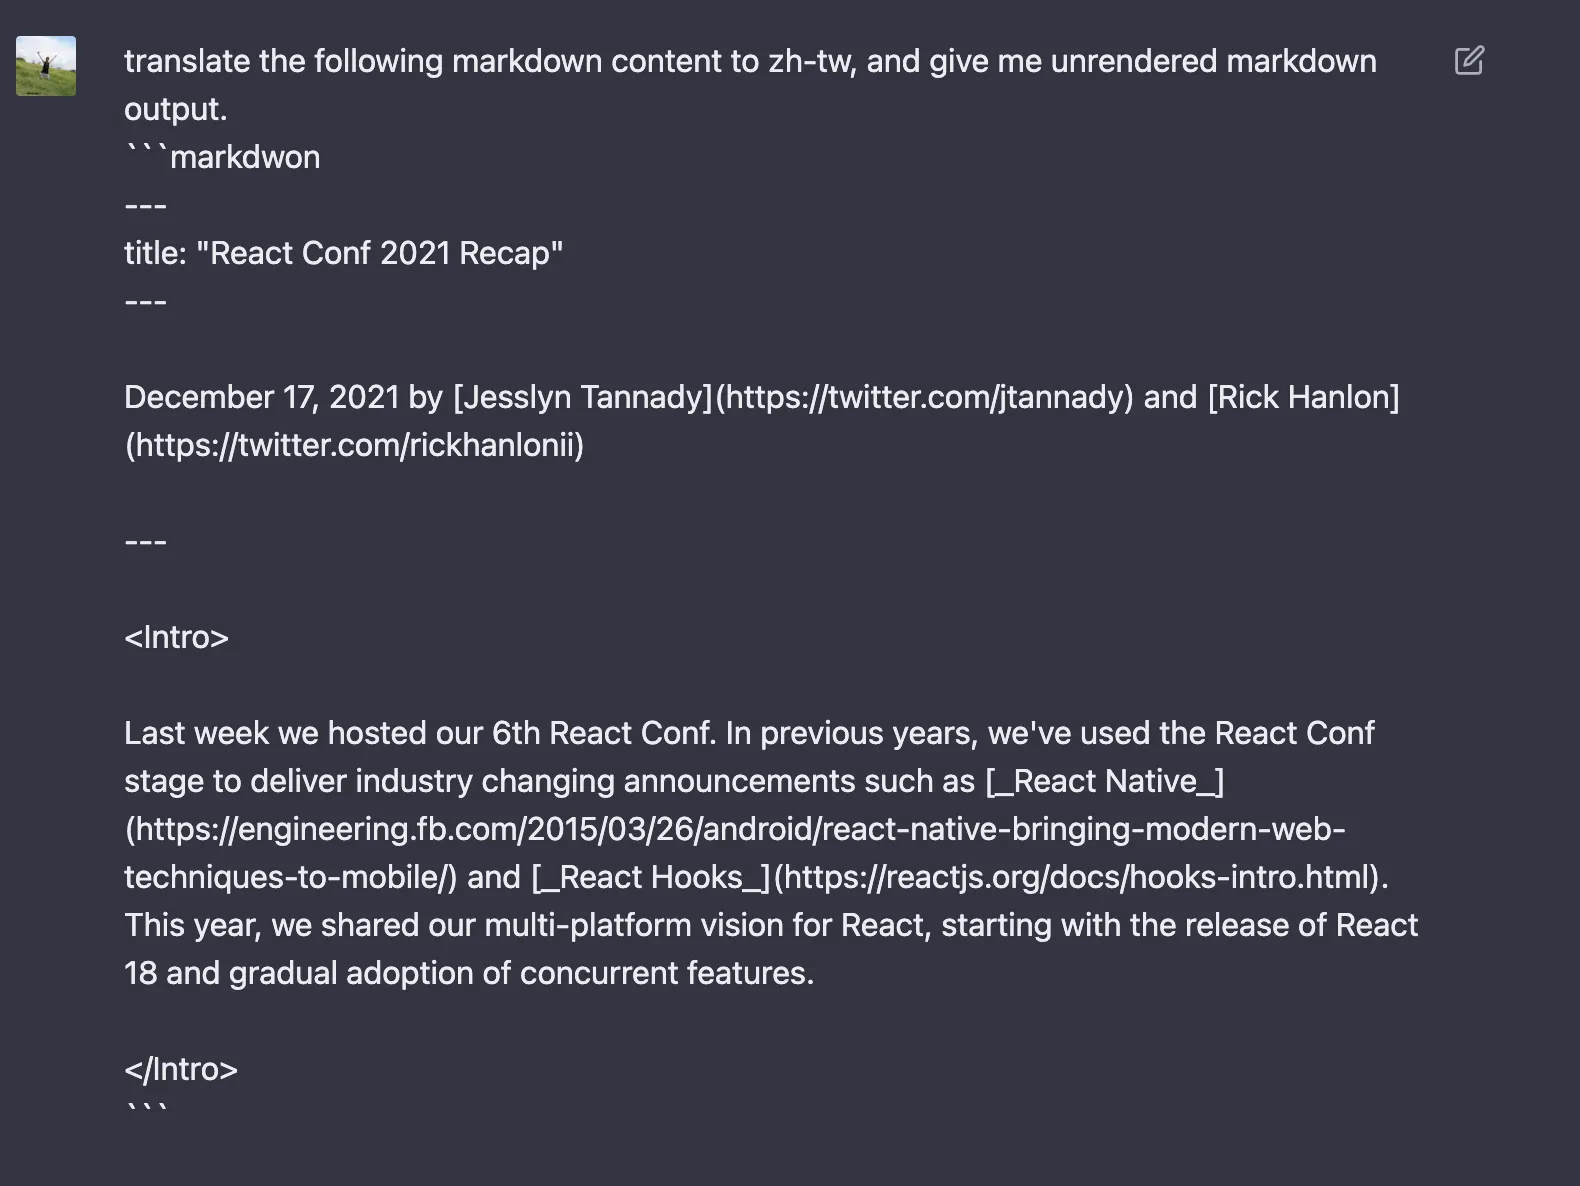
Well done! I only need to put markdown into ChatGPT with the prompt translate the following markdown content to zh-tw, and give me unrendered markdown output. Let’s start coding.
Build a CLI
After doing extensive research, I finally found a tutorial on how to implement a CLI tool by Node.js. So I just ask two prompts about inputing docs location and choosing a i18n language.
prompts.next({
  type: 'input',
  name: 'Path',
  default: "/docs",
  message: 'What\'s the doc path?',
});

prompts.next({
  type: 'rawlist',
  name: 'Locale',
  message: 'What\'s the language you want?',
  choices: locales.map(locale => ({ name: `${locale['Display Name']} (${locale['Language Culture Name']})`, value: locale['Language Culture Name']})),
  default: 29
});
The locales is a JSON file that were converted from this csv using convertcsv. Now we have CLI tool, and we’ll discuss the token.
Learn the Token
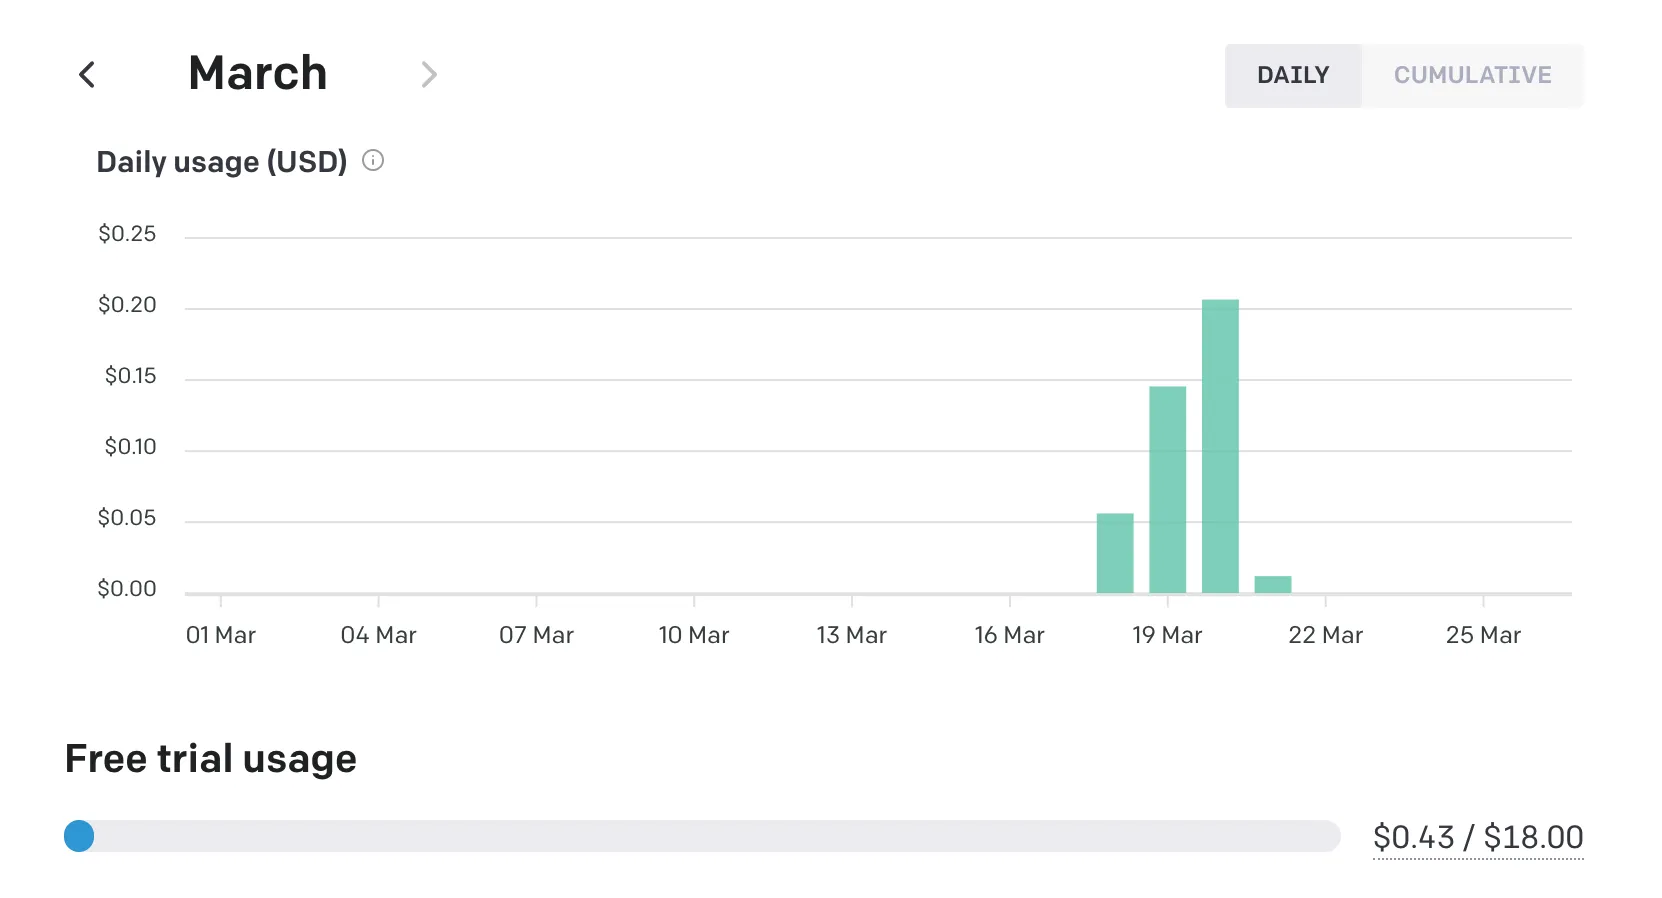 When you sign up for the first time, OpenAI provides you with $18 USD. Based on pricing, the Chat API costs
 $0.002 / 1K tokens. What’s token?
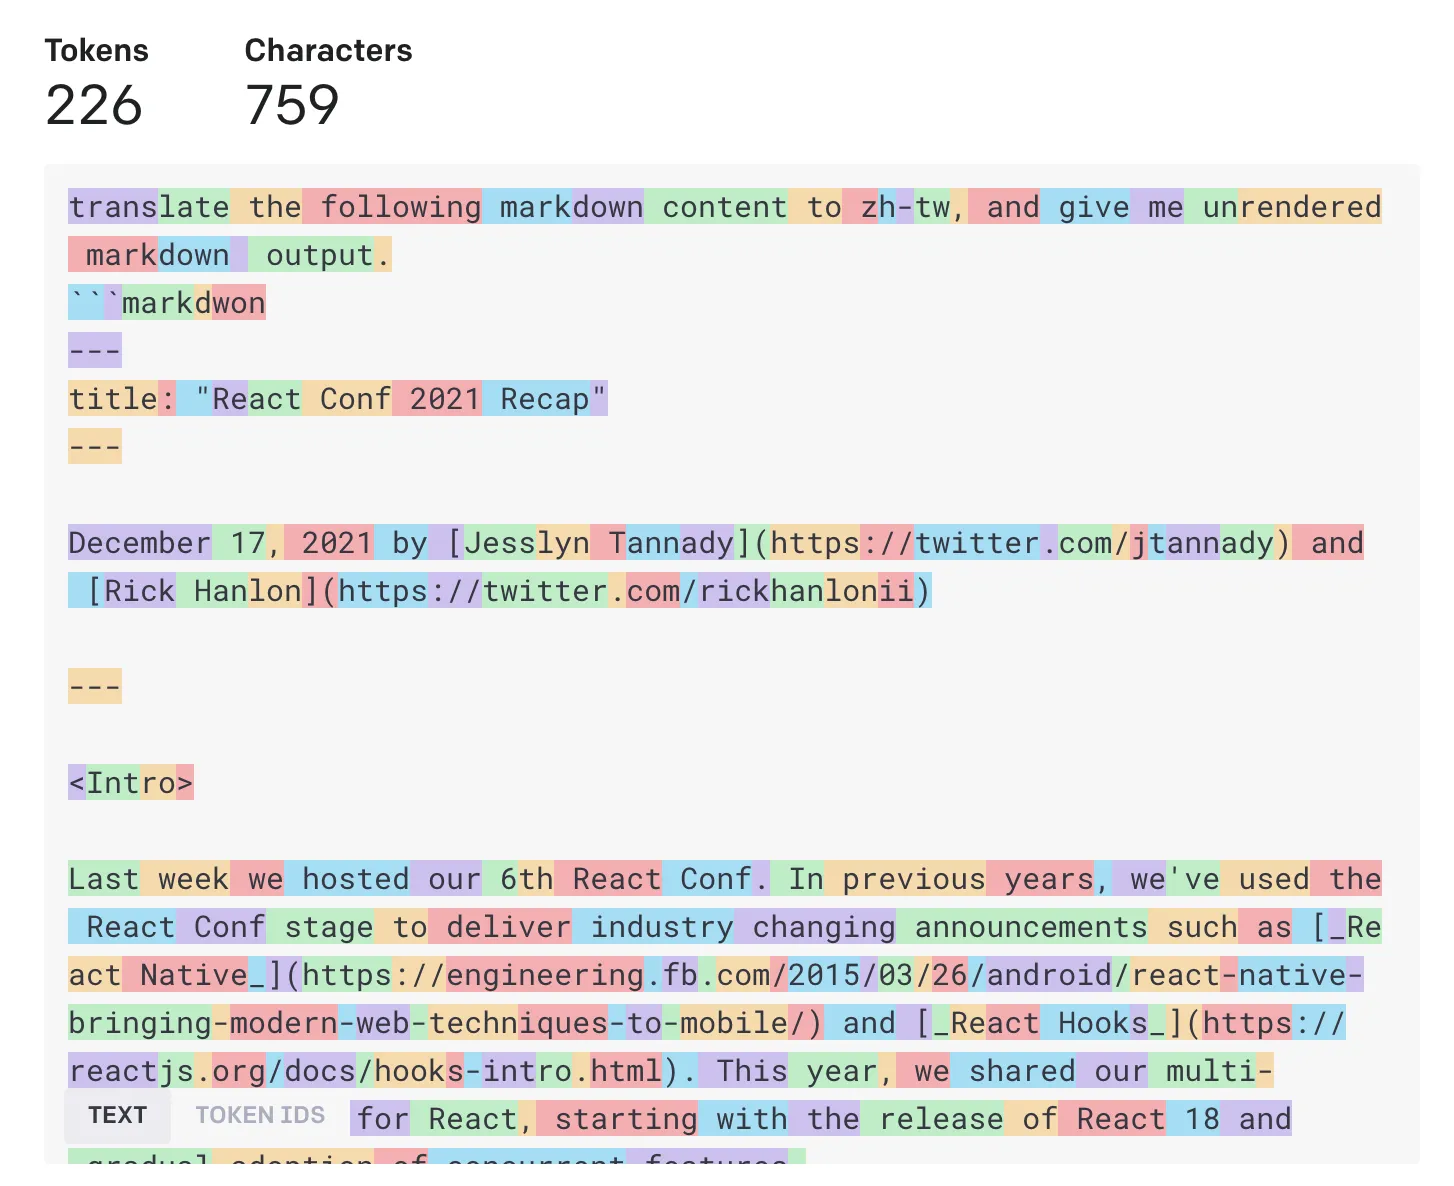
tokenizer The GPT family of models process text using tokens, which are common sequences of characters found in text. The models understand the statistical relationships between these tokens, and excel at producing the next token in a sequence of tokens.
Each model has a limited number of tokens that it can use. For example, if you use the gpt-3.5-turbo model, it only allows for 4,096 tokens.
In order not to exceed the maximum number, I have to seperate a markdown to multiple chunks. Thanks to @dqbd/tiktoken, I can easily pass a string and get length.
import { encoding_for_model } from "@dqbd/tiktoken";
const calcToken = (paragraph: string) => {
  const enc = encoding_for_model("gpt-3.5-turbo");
  const tokens = enc.encode(paragraph)
  enc.free()
  return tokens.length
}
Chunk the markdown
In this step, I hava two functions, one is seperate content to paragraph called convertContentToParagraph, the other is convert paragraph to chunks called convertParagraphToChunk.
type TextWithTokens = {tokens: number, text: string}
const convertContentToParagraph = (content: string, cb: VoidFunction) => {
  const codeMatches = [...content.matchAll(/^```.+\n([\s\S]*?)```/gm)]
  const paragraphMatches = content.matchAll(/\n\n/g)
  let startPos = 0
  let codeIndex = 0
  const paragraph: TextWithTokens[] = []
  for (const paragraphMatch of paragraphMatches) {
    cb()
    if (codeMatches.length > 0 && codeIndex < codeMatches.length) {
      const codeMatch = codeMatches[codeIndex]
      if (paragraphMatch.index && codeMatch.index) {
        if (codeMatch.index! < paragraphMatch.index!) {
          if (codeMatch.index + codeMatch[0].length > paragraphMatch.index) {
            continue
          }
          codeIndex += 1
        }
      }
    }
    const endPos = paragraphMatch.index! + paragraphMatch[0].length
    const text = content.substring(startPos, endPos)
    paragraph.push({ tokens: calcToken(text), text })
    startPos = endPos
  }
  const text = content.substring(startPos)
  paragraph.push({ tokens: calcToken(text), text })
  return paragraph
}

const convertParagraphToChunk = (paragraphs: TextWithTokens[]): TextWithTokens[] => {
  return paragraphs.reduce((chunks, paragraph, index) => {
    let s = chunks[chunks.length - 1]
    s.text = `${s.text}${paragraph.text}`
    s.tokens = s.tokens + paragraph.tokens

    if (index === paragraphs.length - 1) {
      return [...chunks]
    }
    if (s.tokens + paragraphs[index + 1].tokens > CHUNK_TOKENS - CONTEXT_TOKEN) {
      return [...chunks, { tokens: 0, text: '' }]
    }
    chunks[chunks.length - 1] = s
    return chunks
  }, [{ tokens: 0, text: '' }])
}
And here is the config for my ChatGPT
const clientOptions = {
    modelOptions: {
        model: 'gpt-3.5-turbo',
        temperature: 0,
        max_tokens: 4097 - CHUNK_TOKENS - CONTEXT_TOKEN,
    },
    maxContextTokens: 4097,
    maxPromptTokens: CHUNK_TOKENS + CONTEXT_TOKEN,
    debug: false,
};
The
max_tokensparameter is used for return, whilemaxPromptTokensspecifies the maximum number of tokens that can be used in a prompt.
CHUNK_TOKENSrefers to the number of tokens in a paragraph, whileCONTEXT_TOKENSrefers to the number of tokens in the context.
After these processes, a markdown file is seperated into multiple chunks! Until now, I’ve introduced the important parts of my repo, so you can just pull and give it a try.
{% video ‘video.mov’ %}
Conclusion
ChatGPT translation: https://github.com/josephMG/chatGPT-translate-docs/blob/main/chatGPT/zh-TW/blog/2021/12/17/react-conf-2021-recap.md
react.dev source: https://github.com/reactjs/react.dev/blob/main/src/content/blog/2021/12/17/react-conf-2021-recap.md
I have translated a blog into Traditional Chinese. In the react-conf-2021-recap markdown file, I have divided it into three parts, and the cost was $0.02 USD. If you translate the react-conf-2021-recap file twice, you may notice some minor differences, but the main points remain the same.

![[Day 30] BMAD-Method Summary](/_astro/banner.C6FR-Le0.png)
![[Day 29] BMAD-Method - Accounting App Flutter - 3](/_astro/banner.pOujF-t4.jpg)
![[Day 28] BMAD-Method v6 - part 3 - BMB](/_astro/banner.DbuP4gQ2.png)