· Joseph · AI & Machine Learning · 3 min read
Use Figma MCP server with Gemini CLI
In this article, I won’t introduce what MCP is. Instead, I will explain how to set up the Figma MCP server and use Gemini as an MCP client to work with Figma. I will also show you how to run a prompt to get a Figma design with Gemini.
TOC
Figma MCP Introduction
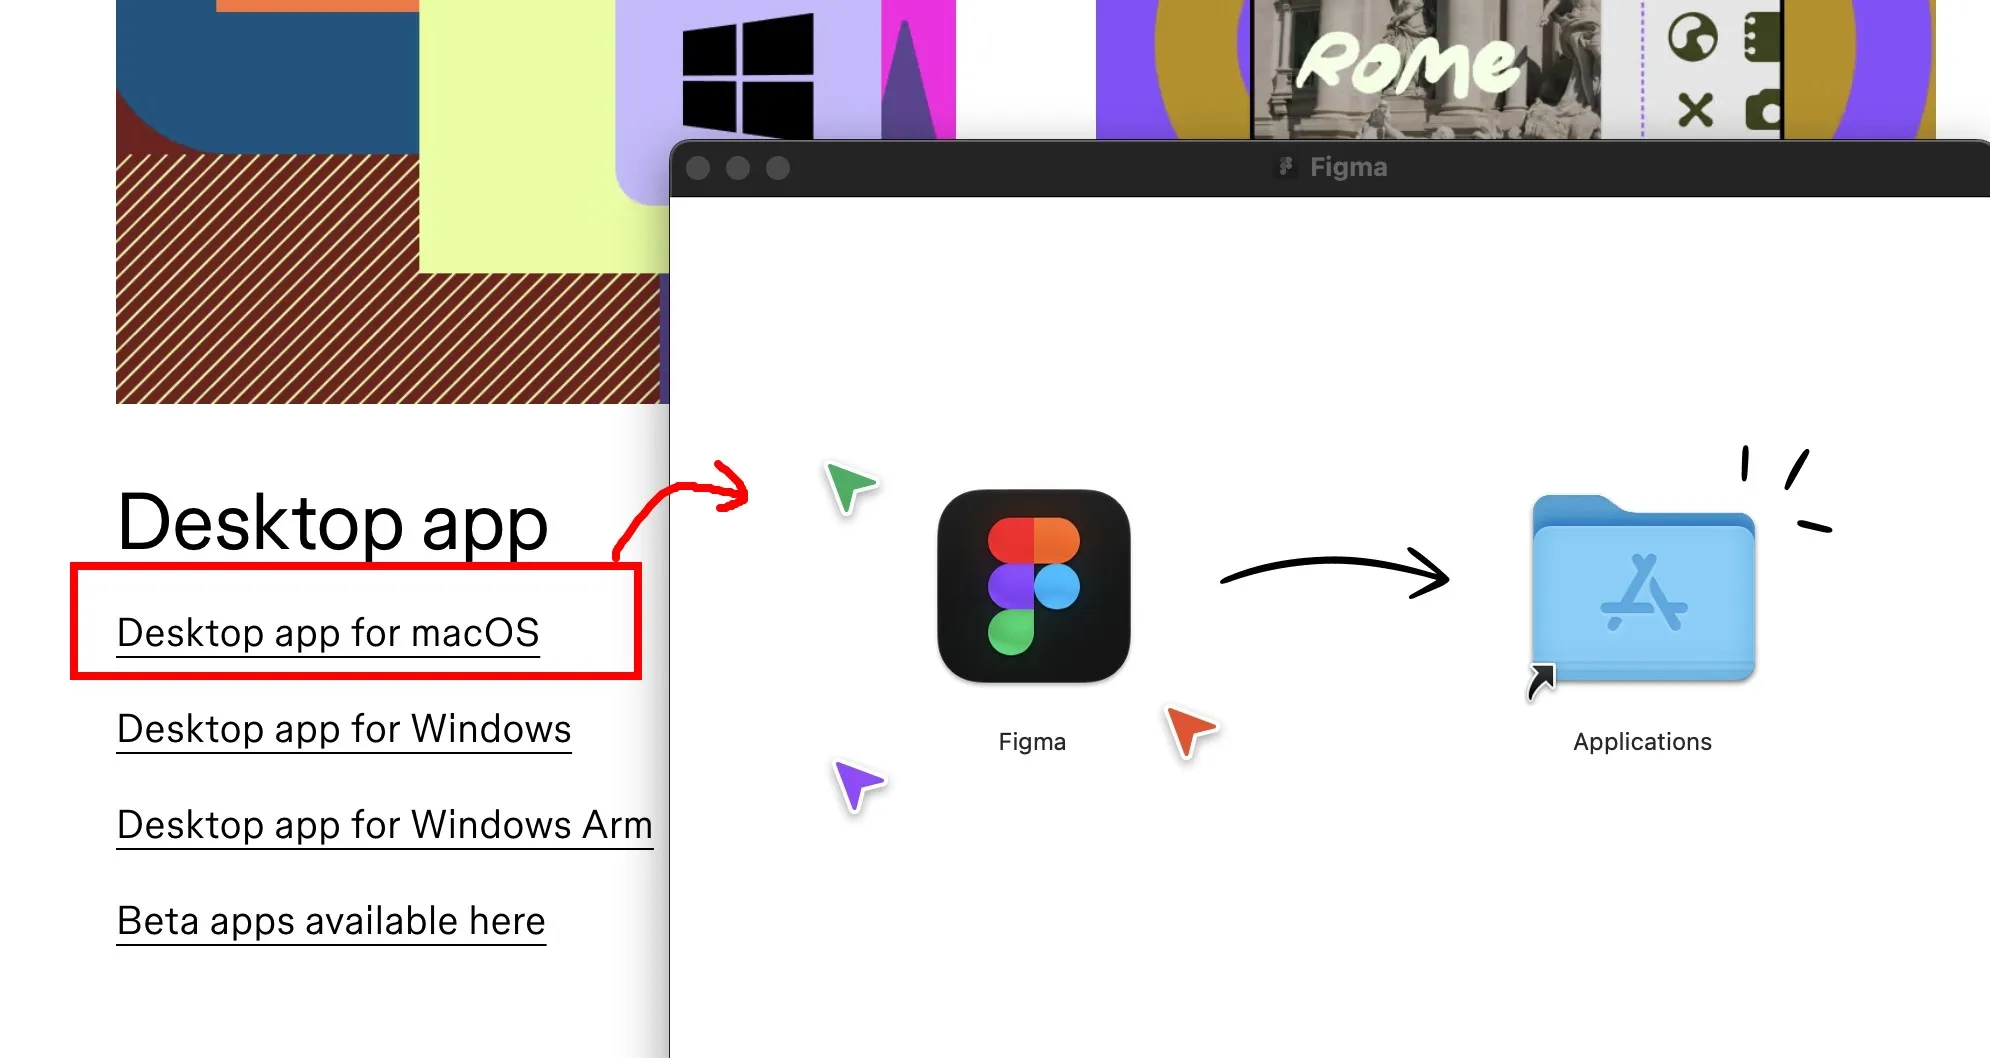
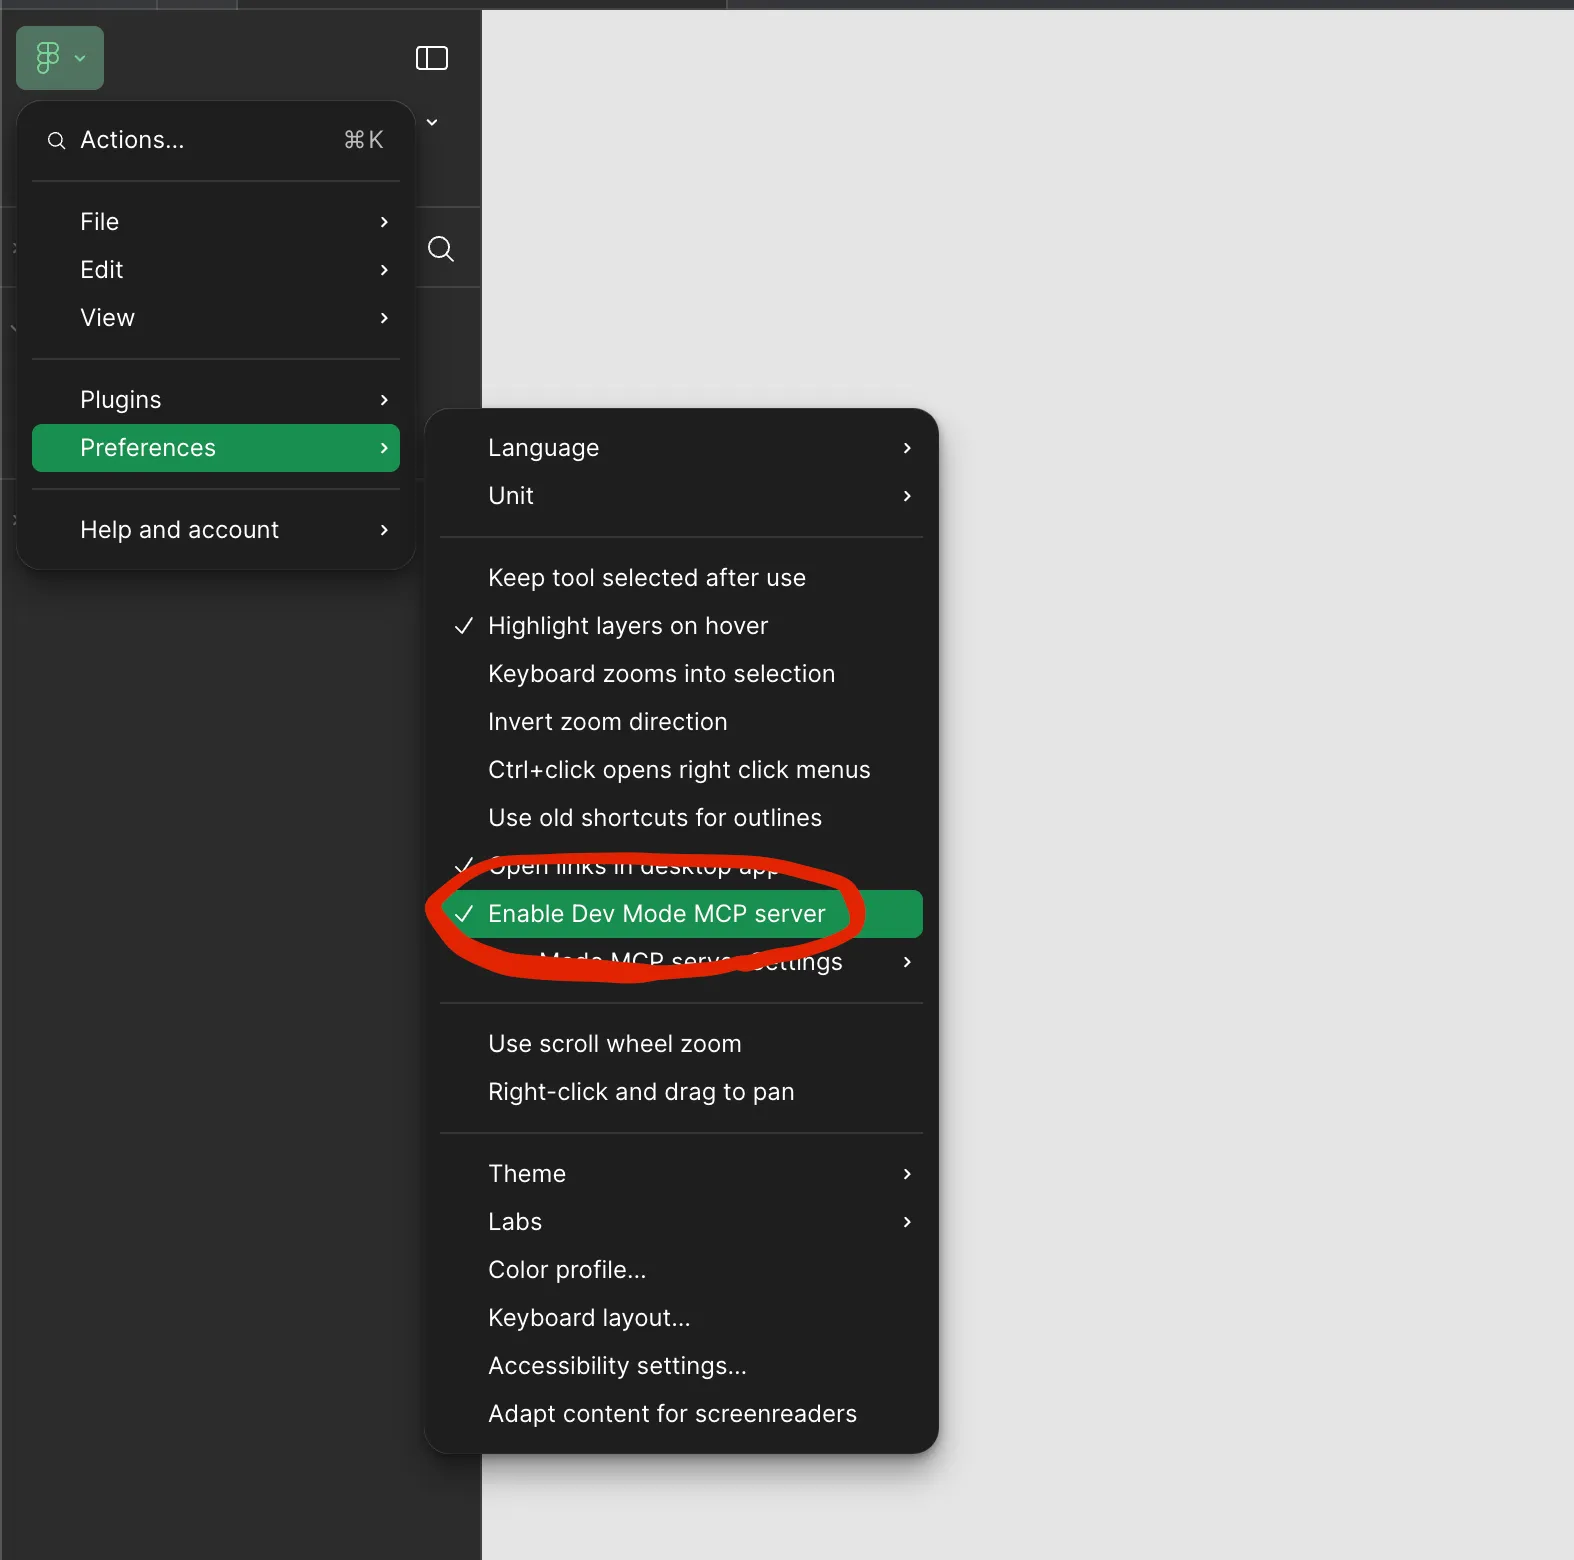
Unlike other MCP servers that require you to install code to run them, with Figma, you only need to install the latest Figma desktop app and toggle on the MCP server from within the app. The Figma MCP server will then be installed on your host.
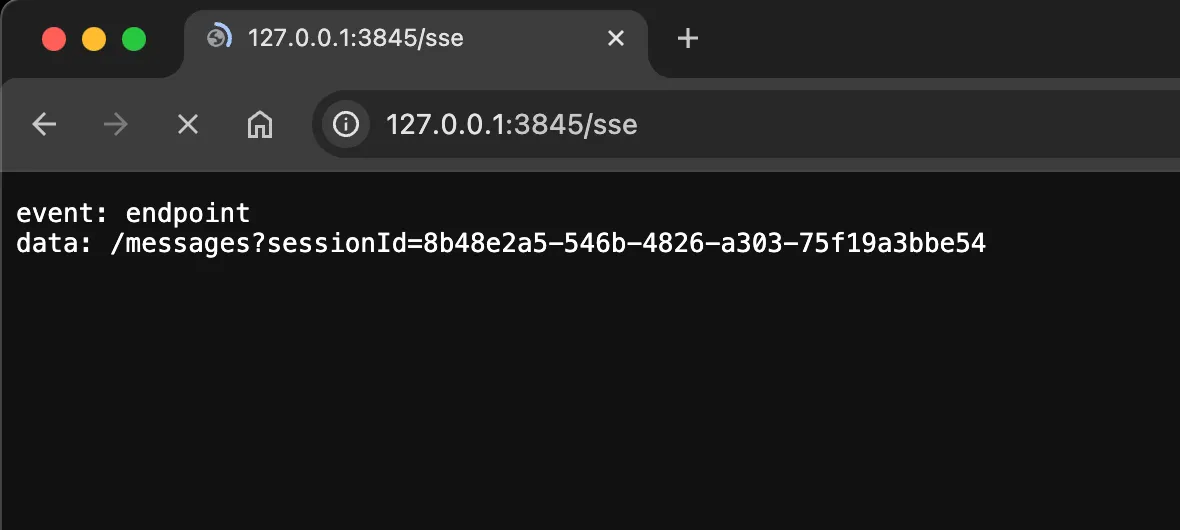
After installation, you can try the link http://127.0.0.1:3845/sse, which should open in your browser with the following result.
Now that we’ve successfully installed the Figma MCP server, I’ll go ahead and set it up with Gemini.
How to install Gemini? Just check this article: Install Gemini CLI
Setup Gemini and Figma MCP server
If we open Gemini and type /mcp, we should see an empty MCP server list. 
Connecting Gemini with the Figma MCP server is quite simple. We just need to add the following setting to ~/.gemini/setting.json or your project’s settings file.
Where is my setting.json? check this tutorial: configuration
- User settings file:
- Location:
~/.gemini/settings.json(where~is your home directory). - Scope: Applies to all Gemini CLI sessions for the current user.
- Location:
- Project settings file:
- Location:
.gemini/settings.jsonwithin your project’s root directory. - Scope: Applies only when running Gemini CLI from that specific project. Project settings override user settings.
- Location:
- System settings file:
- Location:
/etc/gemini-cli/settings.json(Linux),C:\ProgramData\gemini-cli\settings.json(Windows) or/Library/Application Support/GeminiCli/settings.json(macOS). The path can be overridden using theGEMINI_CLI_SYSTEM_SETTINGS_PATHenvironment variable.
- Location:
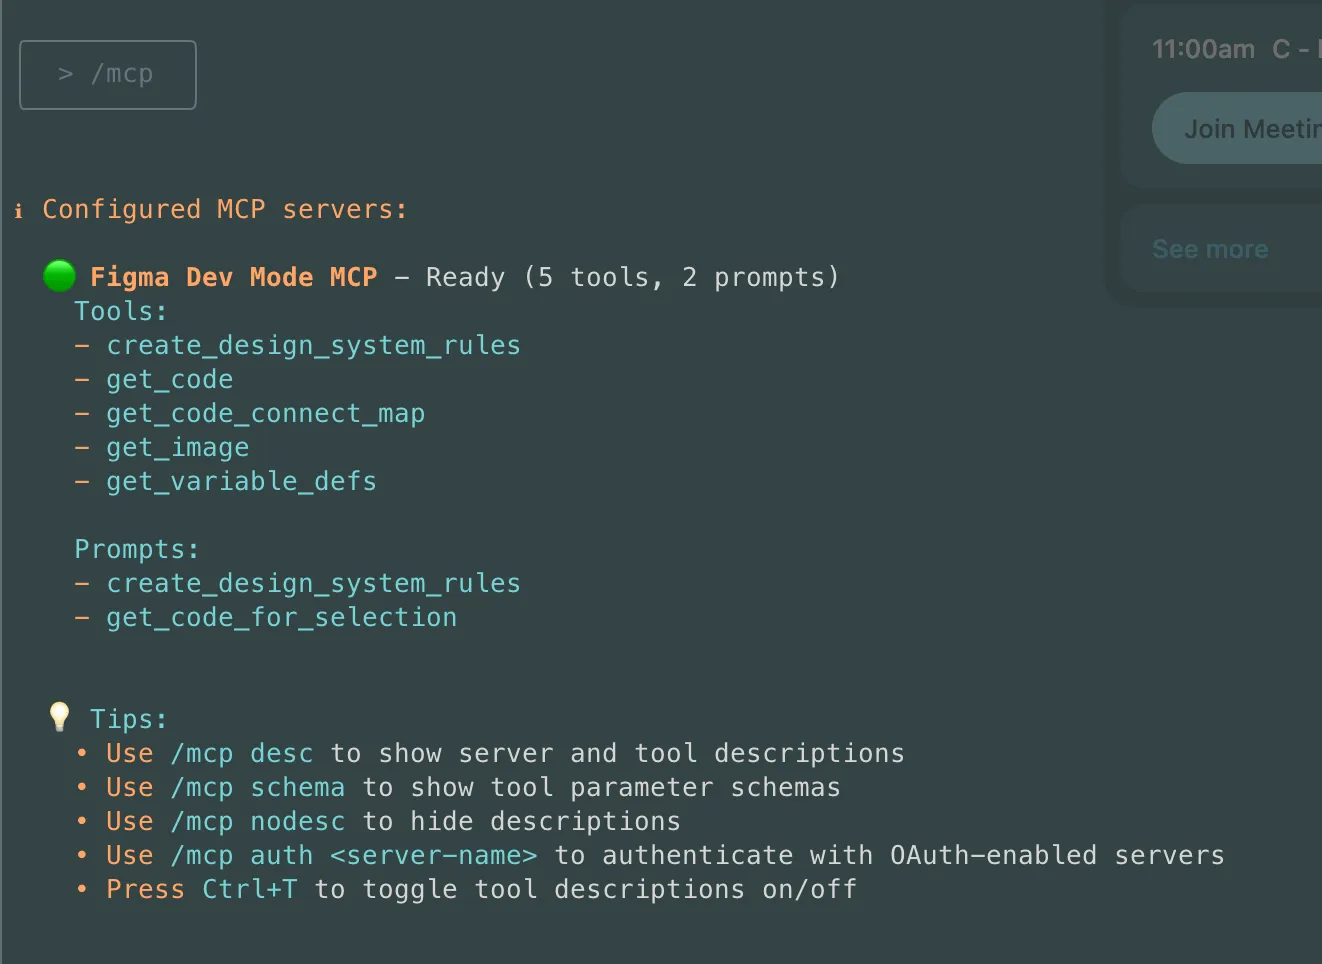
Let’s look at my setting.json. After configuring the settings, just type /mcp in the Gemini CLI again, and we’ll see the configured MCP servers.
{
  "theme": "GitHub",
  "selectedAuthType": "gemini-api-key",
  "mcpServers": {
    "Figma Dev Mode MCP": { "url": "http://127.0.0.1:3845/sse" }
  }
}
So, we’ve connected Gemini with the Figma MCP server, and we can now use Gemini to communicate with Figma.
Communicate With Figma
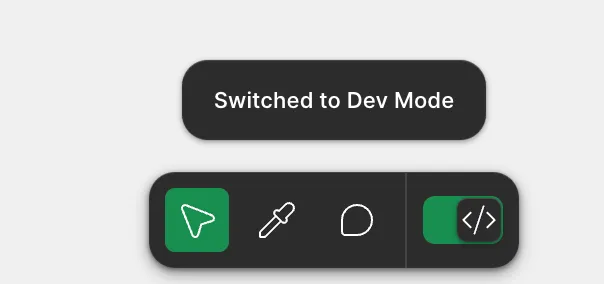
Before communicating, we have to open Dev Mode on Figma.
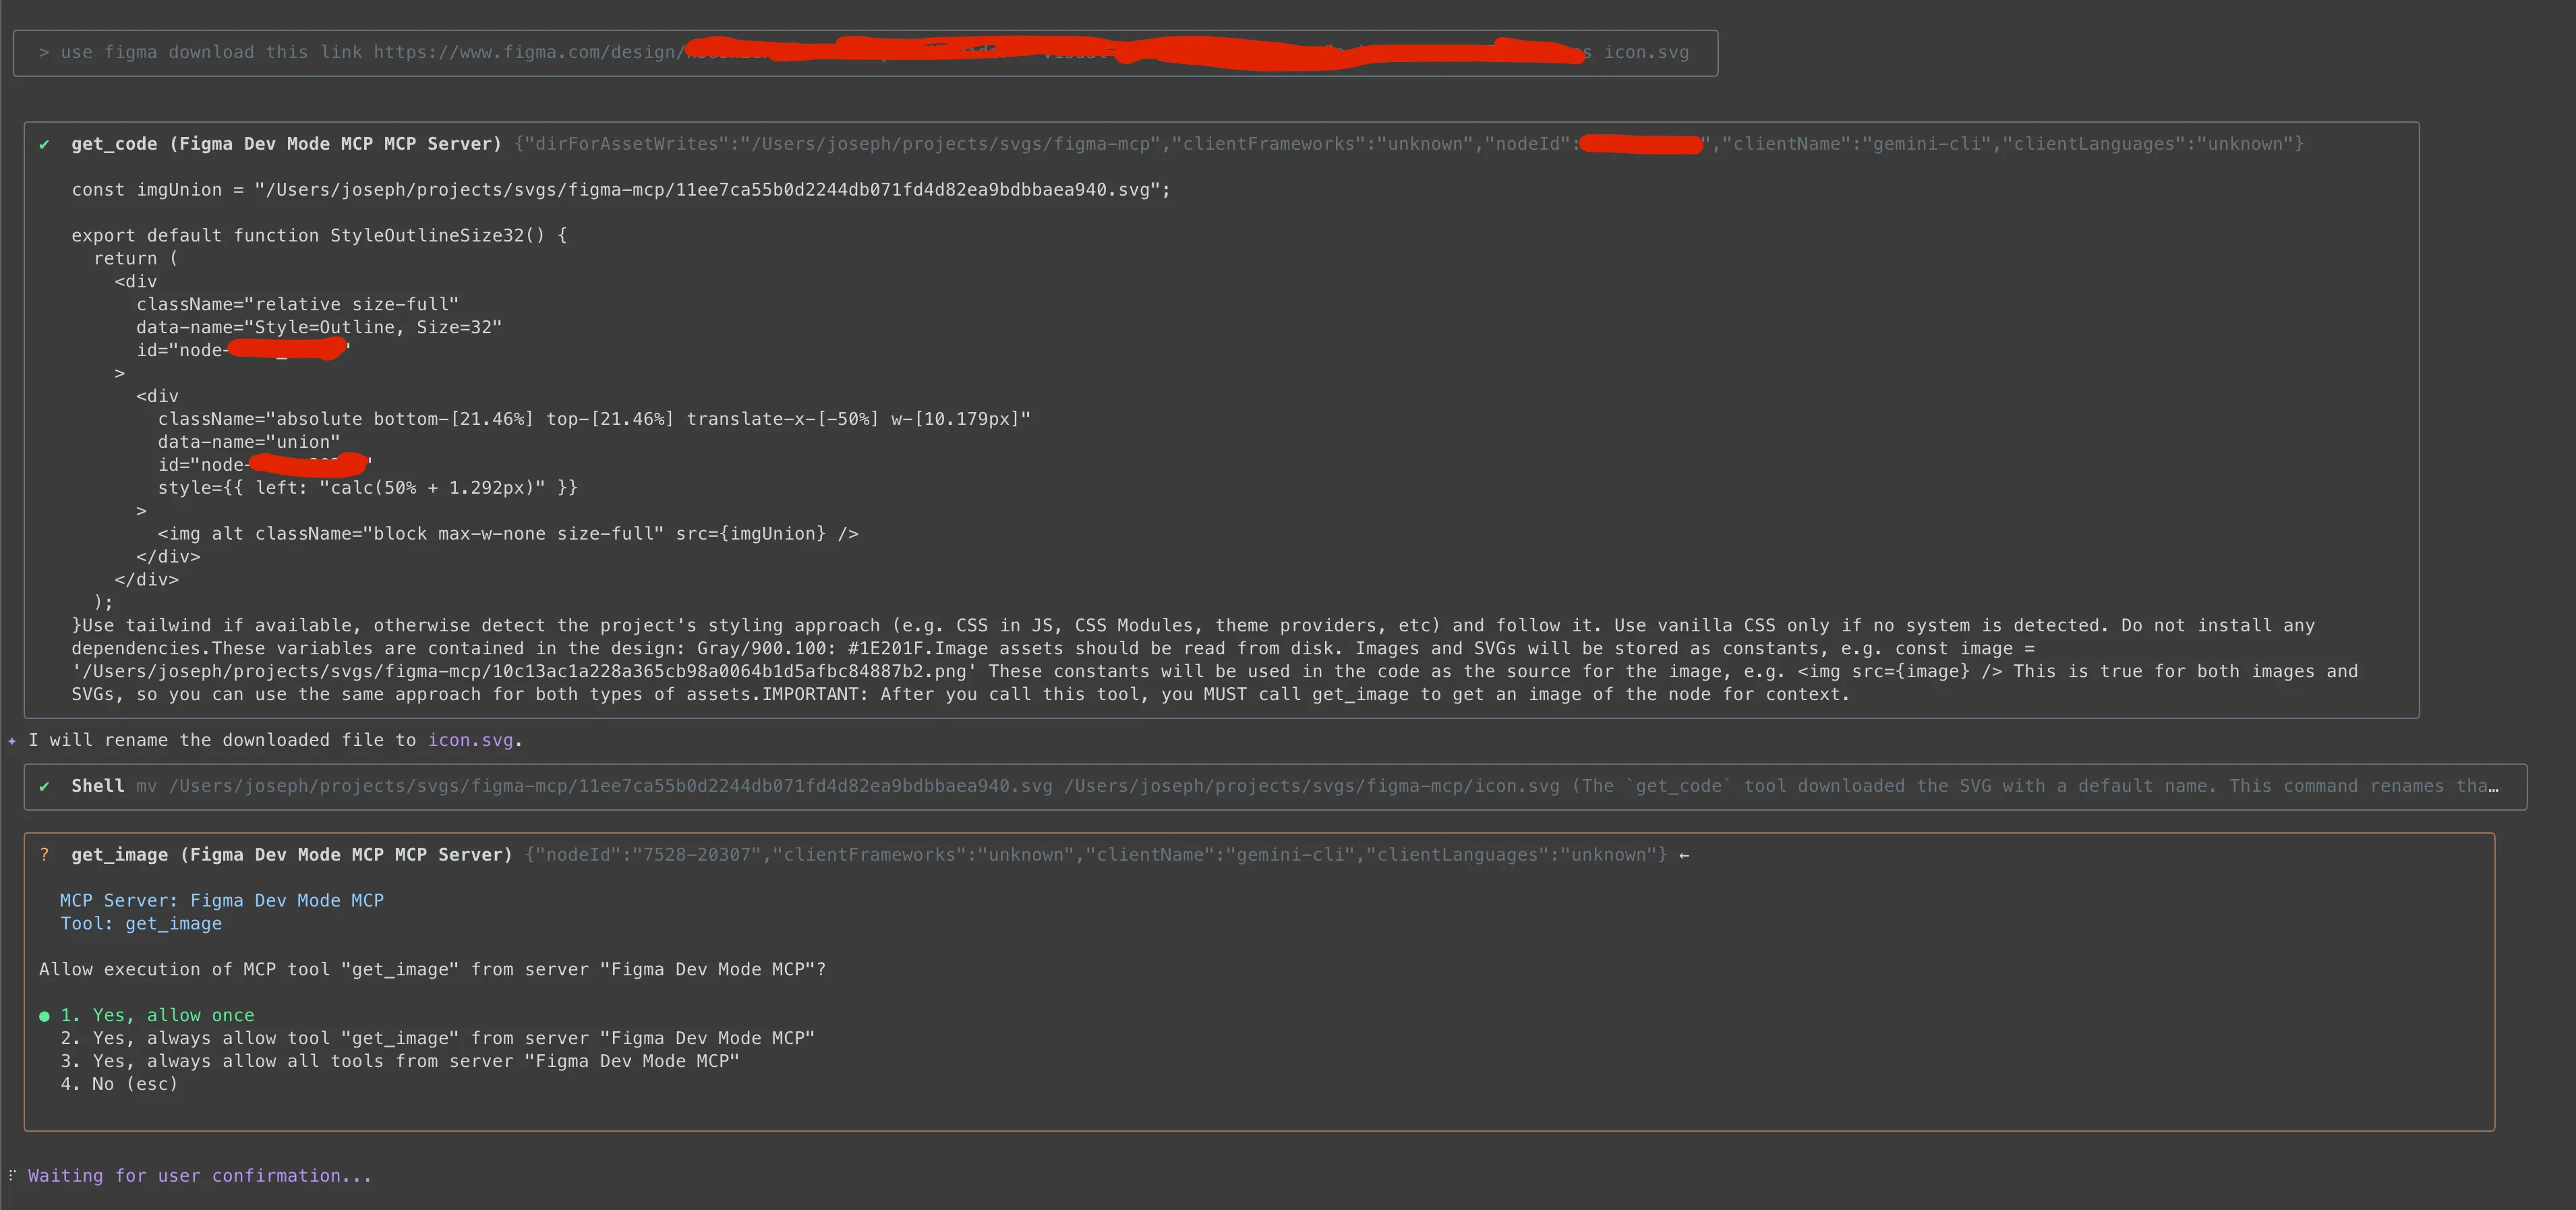
The final step is to find your Figma file link by right-click > copy link to selection, paste the link into the Gemini CLI, and ask Gemini to do something with a prompt. 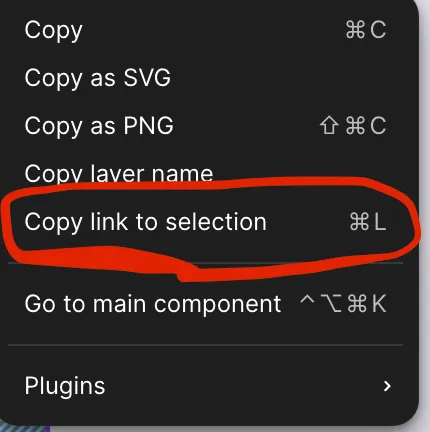
Let’s try this prompt:
use figma download this link {YOUR_LINK} and save as image.svg
All done. You can now use Gemini with the Figma MCP server, and you can let Gemini generate frontend code, a backend DB schema, or system user-story documents. Let’s recall what we’ve done:
- install the Figma app,
- toggle on the Figma MCP server in the app,
- use
Dev mode, - set the Gemini mcpServers setting,
- get the Figma file link, and
- prompt Gemini.
If you like this post, please connect with me on LinkedIn and give me some encouragement. Thanks.

![[Day 30] BMAD-Method Summary](/_astro/banner.C6FR-Le0.png)
![[Day 29] BMAD-Method - Accounting App Flutter - 3](/_astro/banner.pOujF-t4.jpg)
![[Day 28] BMAD-Method v6 - part 3 - BMB](/_astro/banner.DbuP4gQ2.png)