Install Docker / Docker-compose on CentOS 8
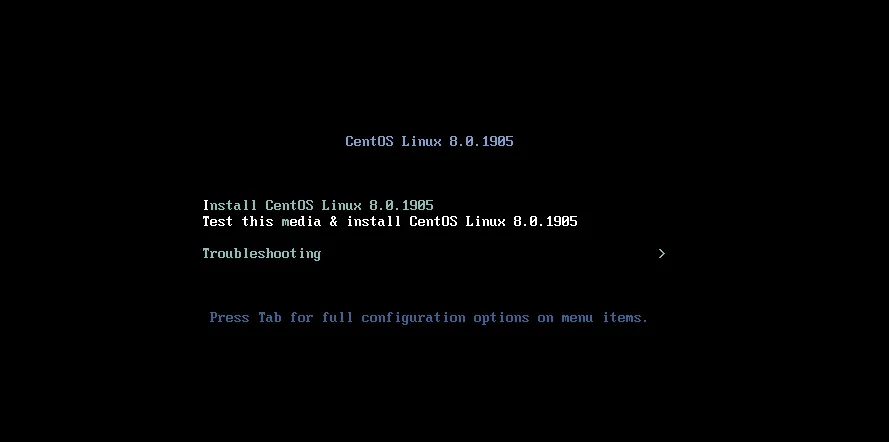
新的一篇文章來講講最近踩的雷,起因手邊有個案子開了一台CentOS 8機器給我,讓我在上面設定docker跟跑起服務。實在跟CentOS很不熟的我決定寫篇備忘錄。
Install Docker
然後,讓我慢慢安裝docker。
$ sudo yum update
$ sudo yum install -y yum-utils device-mapper-persistent-data lvm2
$ sudo yum-config-manager --add-repo https://download.docker.com/linux/centos/docker-ce.repo
$ sudo yum install docker-ce #可能會遇到`問題一`
問題一:
yum install docker-ce時出現下列訊息:
package docker-ce-3:19.03.5-3.el7.x86_64 requires containerd.io >= 1.2.2-3, but none of the providers can be installed
可以透過先執行下列指令解決
sudo yum -y install https://download.docker.com/linux/centos/7/x86_64/stable/Packages/containerd.io-1.2.6-3.3.el7.x86_64.rpm跑完就安裝好了,讓我們start & enable docker
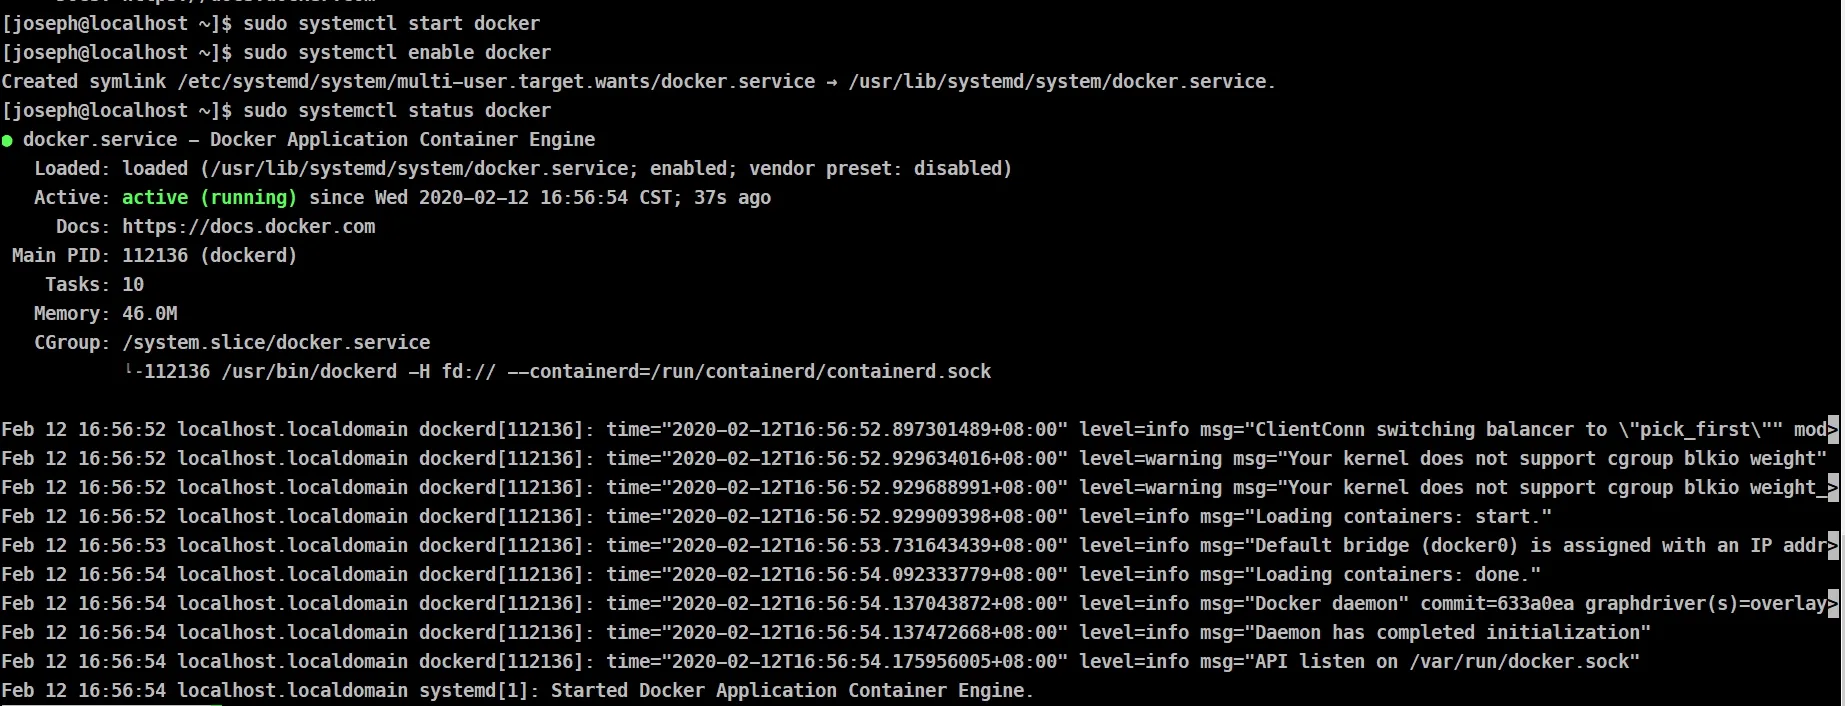
$ sudo systemctl start docker
$ sudo systemctl enable docker
$ sudo systemctl status docker我在安裝的時候有把我的user視為administrator,如果你每次都要透過sudo去執行docker的話,請看看
問題二
問題二:
每次都要透過sudo docker執行docker或某些指令會回給你Permission denied嗎?
sudo usermod -aG docker $(whoami)把自己加入docker群組吧(記得要重新登入)
Install docker-compose
很快的透過curl抓取docker-compose的執行檔,然後把他設定+x mode。
$ sudo curl -L "https://github.com/docker/compose/releases/download/1.24.1/docker-compose-$(uname -s)-$(uname -m)" -o /usr/local/bin/docker-compose
$ sudo chmod +x /usr/local/bin/docker-composeOK,docker-compose --version就可以看到版本了
$ docker-compose --version
docker-compose version 1.24.1, build 4667896b
到這邊都好了嗎?接下來你會遇到docker DNS跟防火牆的困擾。
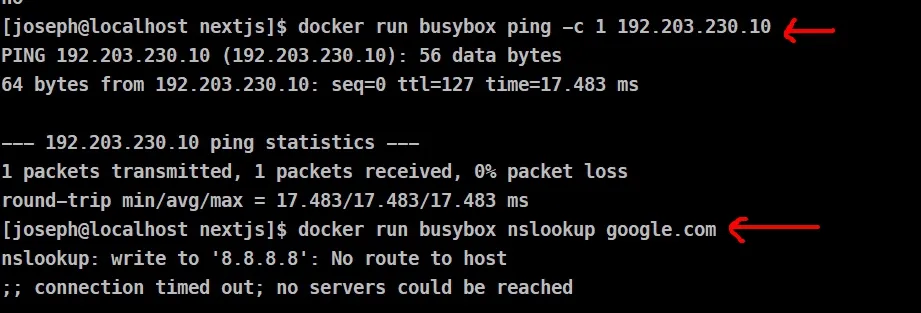
npm ERR! code EAI_AGAIN npm ERR! errno EAI_AGAIN npm ERR! request to https://registry.npmjs.org/xxxxxxx failed, reason: getaddrinfo EAI_AGAIN registry.npmjs.org:443 npm ERR! A complete log of this run can be found in: npm ERR! /root/.npm/_logs/2020-02-12T15_32_35_422Z-debug.log
docker run busybox ping -c 1 192.203.230.10 可以出去 docker run busybox nslookup google.com 找不到host
8.8.8.8是我VM的dns server
好,把它打通吧。
$ sudo firewall-cmd --zone=trusted --change-interface=docker0
$ sudo firewall-cmd --reload.
把docker0 interface 加入trusted zone,這時候docker nslookup就通了。
有時候你會需要把4243 port也被防火牆允許:
sudo firewall-cmd --permanent --zone=trusted --add-port=4243/tcp
有時候你可能需要手動設定docker dns,可以vim編輯
/etc/docker/daemon.json:
{
    "dns": ["8.8.8.8", "8.8.4.4"]
}
到這邊就結束了。最後可以跑個隨便的服務,然後透過VM ip & port 連進去(記得要port mapping)。 剛接到案子本來想說沒這麼複雜,沒想到複雜到我要開一台VM實驗,不過也是學了很多centos的東西。
