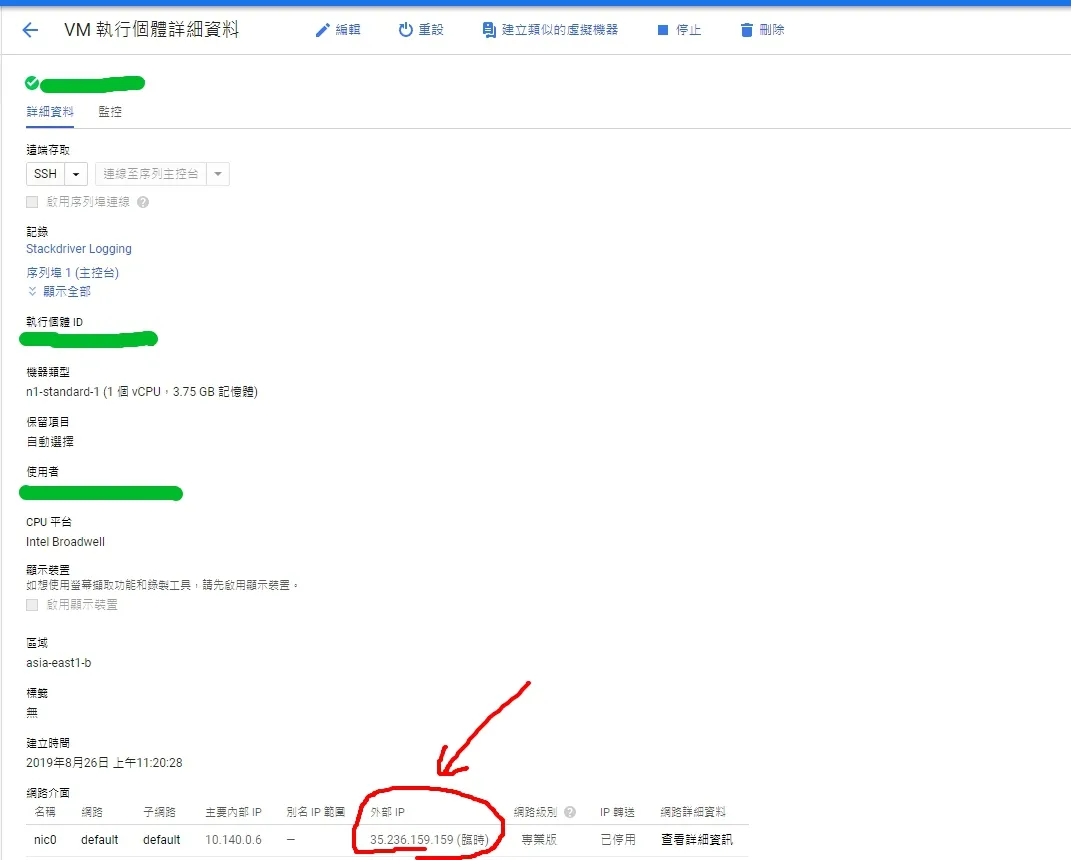
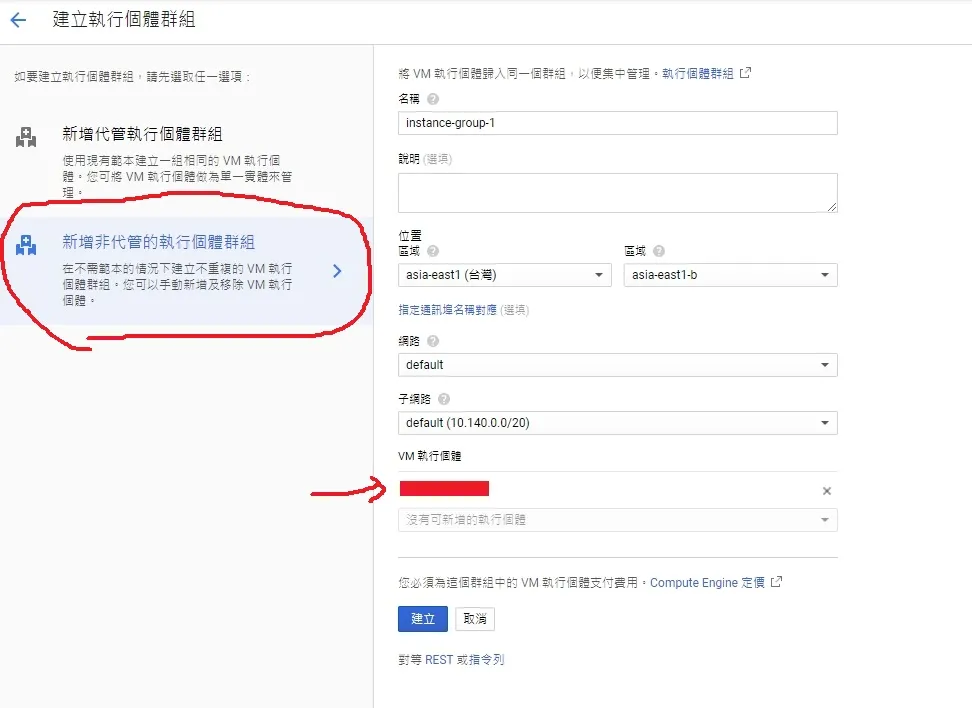
Last year, I got a case to use firebase and firestore with Next.js. I've been fullstack many years, so I haven't tried to use firebase and firestore. There was a great chance to give it a try. In this article I'll show how to use firebase and firestore in Docker and Next.js. If you don't have backend support, or you don't want to build whole backend, database, and infrastructure, you would probably think this is a useful way.

I've been using Vim for a long time and finally switched to Neovim. The initial thought of switching came after the author of VIM passed away in August 2023, as I didn’t have the time to try other editors. After a year, “vibe coding” grew up, so I started thinking how to integrate AI into my editor and surveying how to use AI in Vim, which led to this journey. TOC Main differences Tab vs. Buffer: ref: https://www.reddit.com/r/neovim/comments/13iy0p0/why_some_people_use_buffers_for_tabs_and_not_vim/ In vim, I used vsp or tabnew to open or edit a file and mapped tabprevious command with Tab key to navigate between tabs. However, in Neovim, I used buffer instead of tabs and mapped BufferLineCyclePrev with Shift + h for switching buffers. coc vs. native lsp: I configured many coc settings to support TypeScript and JavaScript language servers, including linting and Prettier on save, go-to definition or reference, and codelens. After using Neovim, I converted all of these settings to nvim-lspconfig and mason, among others. Lua supports: Although I’m not familiar with Lua, it allows me to write more readable configuration files using modules, functions, and tables (objects) for Neovim. AI supports: Vibe coding! I found many plugins to integrate LLMs and finally selected three to use: avante.nvim Let your Neovim be a Cursor AI IDE – it's undergoing rapid iterations and many exciting features will be added successively; it updates almost every day! CodeCompanion CodeCompanion can customize workflows and prompts, and its Action Palette is a really useful tool. gp.nvim GP means GPT Prompt, and it's an Neovim AI plugin. It helps me write prompts through Neovim's cmdline. I usually switch between these plugins, and I'm still thinking about my 'vibe-way' to use them. Because of supporting Ollama LLM, all of them can be used offline. For now, I've used Neovim for three months, and got to know Neovim. In my experience, Neovim is really more productive than vim. Reference AI in Neovim How to set up Neovim for coding React ZazenCodes Neovim Rewrite by Avante + Ollama gemma3:4b ------ For a long time, I relied on Vim for my coding. However, after Bram Moolenaar’s passing in August 2023 – a significant influence in the Vim community – I decided it was time for a change. I began exploring alternative editors, ultimately settling on Neovim. This journey wasn’t just about switching editors; it was about integrating AI into my workflow and redefining my coding experience. Key Differences: Tabs vs. Buffers One of the first things I noticed was the shift from tabs to buffers in Neovim. In Vim, I frequently used vsp or tabnew to open or edit files, navigating between tabs with the Tab key and Tabprevious command. Neovim, however, utilizes buffers, offering a more streamlined approach. I configured BufferLineCyclePrev with Shift + h for seamless buffer switching, alongside nvim-tree/nvim-web-devicons and akinsho/bufferline.nvim. Leveraging Language Servers with coc and nvim-lspconfig I configured many coc settings to support TypeScript and JavaScript language servers, including linting and Prettier on save, go-to definition or reference, and codelens. Recognizing the power of language servers, I then converted all of these settings to nvim-lspconfig and mason.nvim, streamlining my development environment. Lua Configuration for Readability Although I’m relatively new to Lua, it allows me to write more readable configuration files using modules, functions, and tables (objects) for Neovim. Here’s a snippet of my configuration: AI-Powered Productivity with avante.nvim, CodeCompanion, and gp.nvim To truly elevate my coding experience, I integrated several AI plugins. I selected: avante.nvim**: This plugin transforms Neovim into a Cursor AI IDE, undergoing rapid iterations and adding exciting new features daily. CodeCompanion**: This plugin allows for customizable workflows and prompts, with a particularly useful Action Palette. gp.nvim**: (GPT Prompt) – This plugin helps me write prompts through Neovim’s command line interface, leveraging folke/noice.nvim. Because of supporting Ollama LLM, all of these plugins can be used offline. I’m still experimenting with how to best utilize these plugins – a “vibe-way” to coding! Resources for Further Exploration AI in Neovim How to set up Neovim for coding React ZazenCodes Neovim


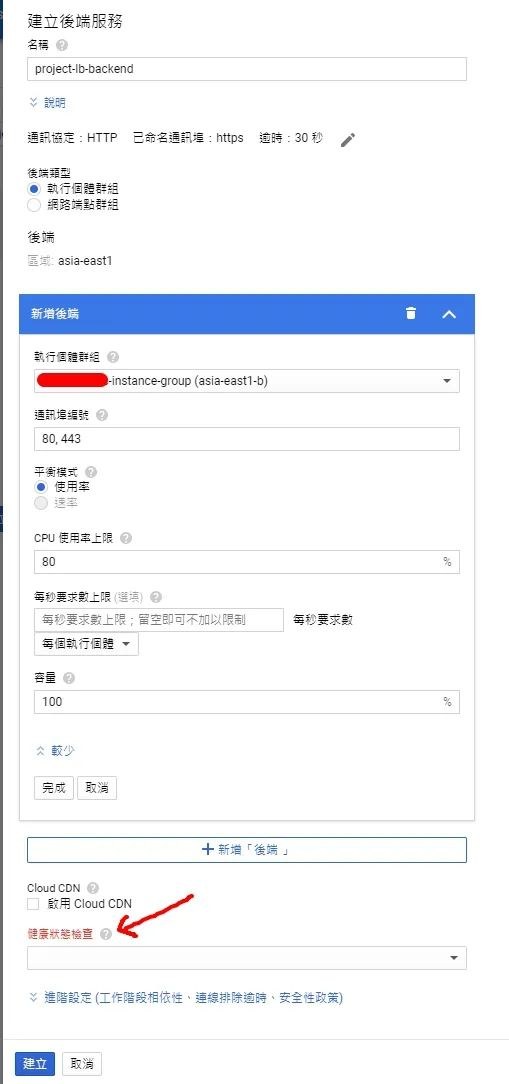 這邊建立好以後,主機與路徑規則會自動幫我們生成。如果沒有額外的static resource相關路徑要修改,其實這邊不用動。
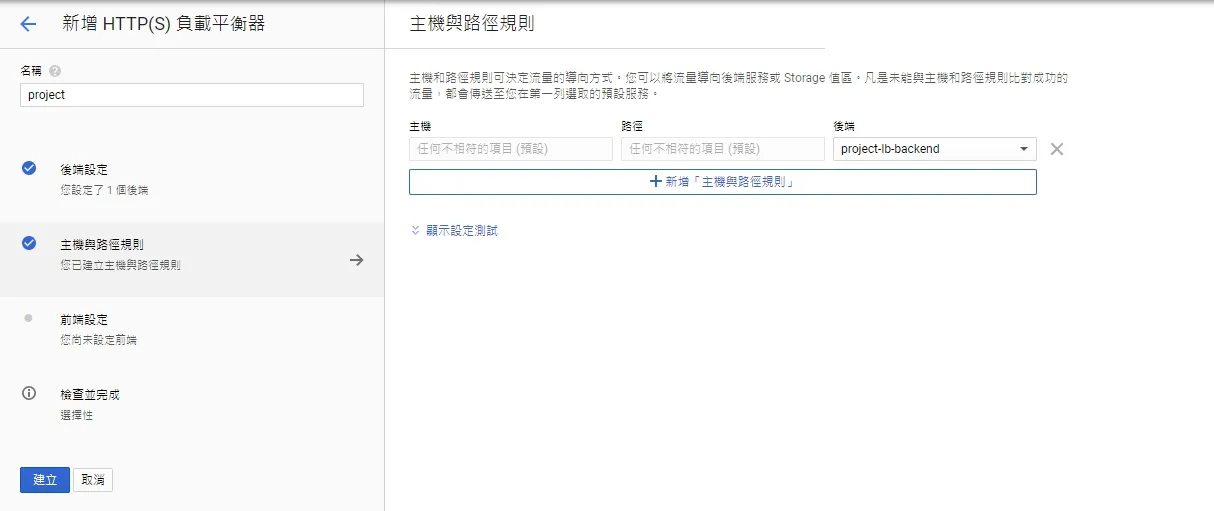
 這邊因為我沒有憑證,所以我讓Google代管,只需要輸入domain即可。
 如果都選臨時,會發現到時候要設定DNS的時候無法分辨80/443要去哪個IP,所以這邊選擇建立一個靜態位址,只需要在臨時這邊改成建立IP位址,並輸入名稱即可。
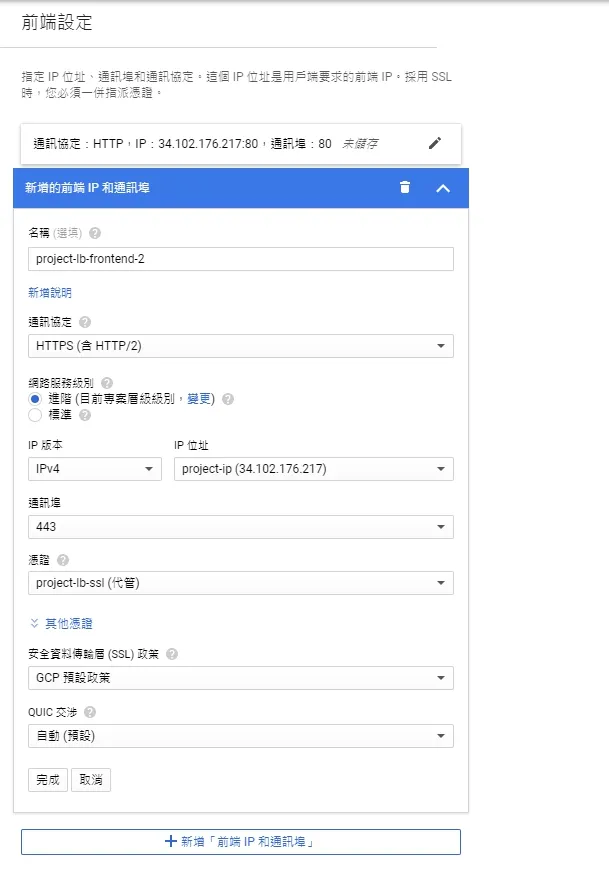 這邊可以看到兩個的IP是一樣的,port則分別為
