· Joseph · DevOps  · 2 min read

Ruby on Jets - AWS serverless framework for Ruby on Rails

Ruby on Rails (RoR) is my favorite web framework, and today I will share an AWS serverless framework of RoR: Ruby on Jets. I’m not an AWS expert and even have no AWS certifications, and besides, this is my first time to use AWS Lambda, API gateway, dynamodb, and other serverless services.

Preparation:
Add aws_access_key_id and aws_secret_access_key to ~/.aws/credentials
Docker / Docker-compose I use in this demo.

Let's look at initial project structure:
project-structure.png

Ruby on Rails (RoR) is my favorite web framework, and today I will share an AWS serverless framework of RoR: Ruby on Jets. I’m not an AWS expert and even have no AWS certifications, and besides, this is my first time to use AWS Lambda, API gateway, dynamodb, and other serverless services.

Preparation:

  1. Add aws_access_key_id and aws_secret_access_key to ~/.aws/credentials
  2. Docker / Docker-compose I use in this demo.

Let’s look at initial project structure: project-structure.png
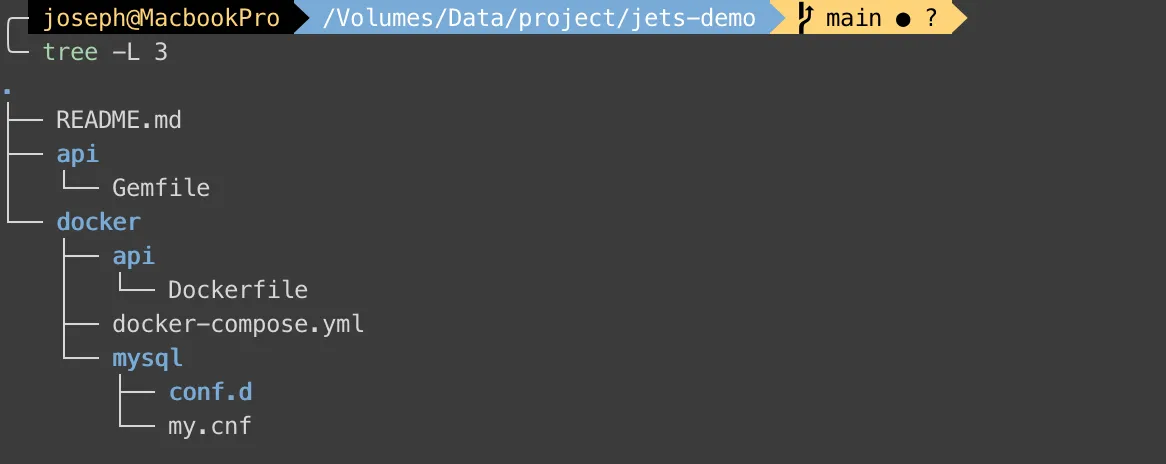
There’s my Gemfile, Dockerfile, and docker-compose.yml

Gemfile

source "https://rubygems.org"

gem "jets", "~> 3.0.0"

Dockerfile

FROM ruby:2.7
RUN apt-get update \
    && apt-get -y install rsync zip

WORKDIR /api
COPY ./api /api
RUN bundle install

docker-compose.yml

version: '3'

services:
  api:
    build:
      context: ../
      dockerfile: docker/api/Dockerfile
    command: bash -c "bundle exec jets server --port 3000 --host 0.0.0.0"
    environment:
      - AWS_PROFILE=default
      - AWS_REGION=ap-northeast-2
    volumes:
      - '../api:/api'
      - ~/.aws:/root/.aws
    ports:
      - "3000:3000"
    depends_on:
      - dynamodb
      - db
  dynamodb:
    image: instructure/dynamo-local-admin
    ports:
      - "8000:8000"
      - "8001:8001"
      - "8002:8002"
  db:
    image: mysql:8
    environment:
      MYSQL_ROOT_PASSWORD: root
      MYSQL_DATABASE: app
      MYSQL_USER: docker
      MYSQL_PASSWORD: docker
      TZ: 'Asia/Taipei'
    ports:
      - 3306:3306
    volumes:
      - ./mysql/conf.d:/etc/mysql/conf.d

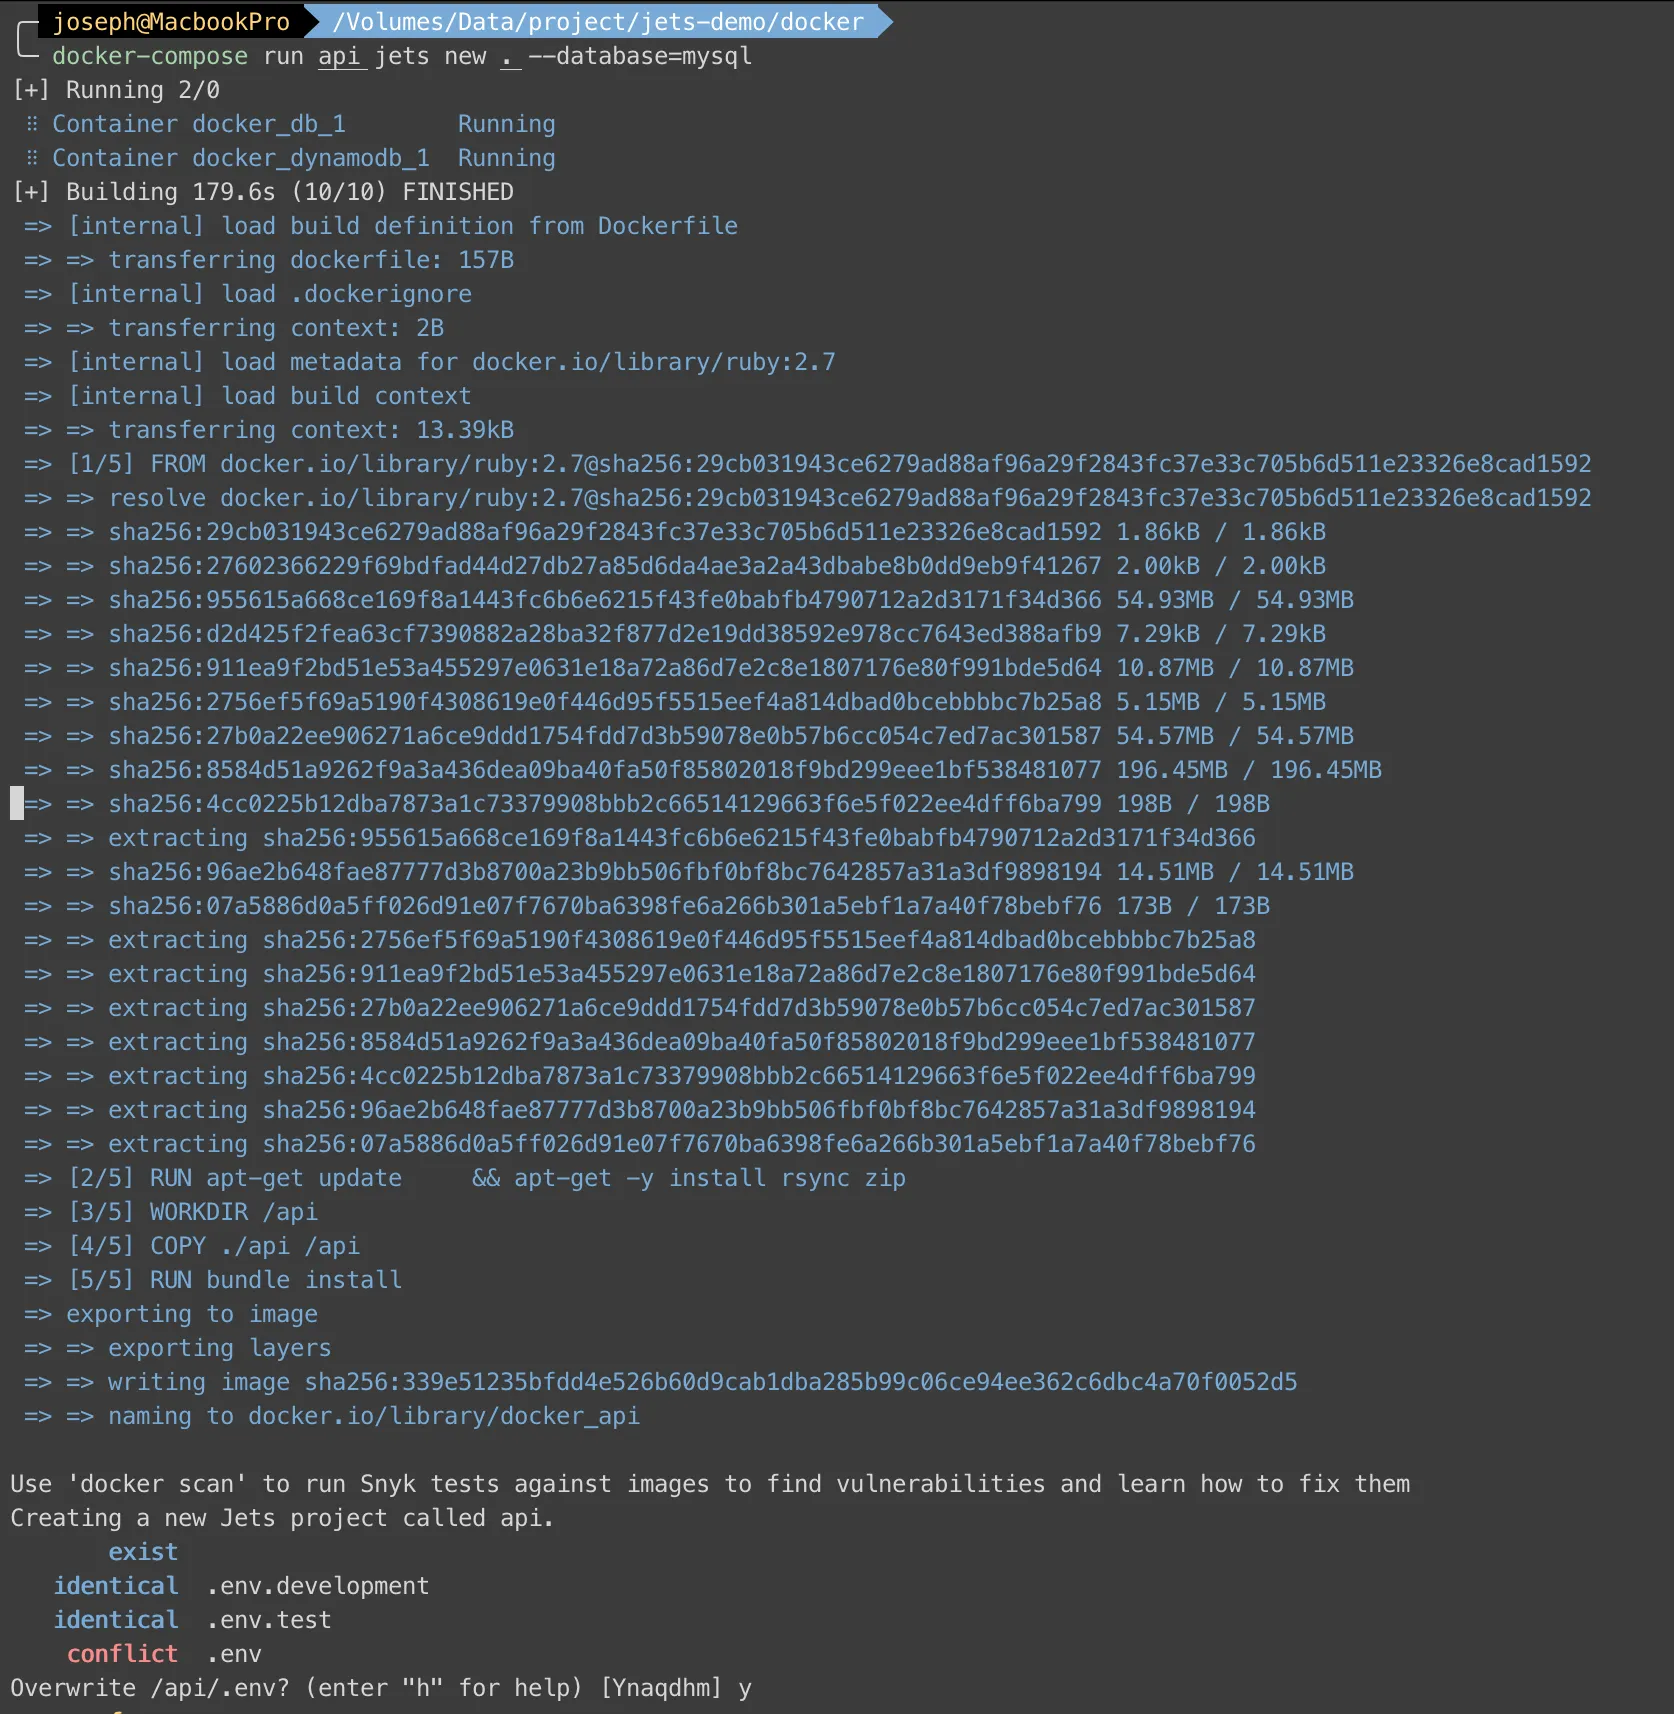
Then, We go to docker folder to run docker-compose run api jets new . --database=mysql to install gems and generate Jets project. jets-new.png
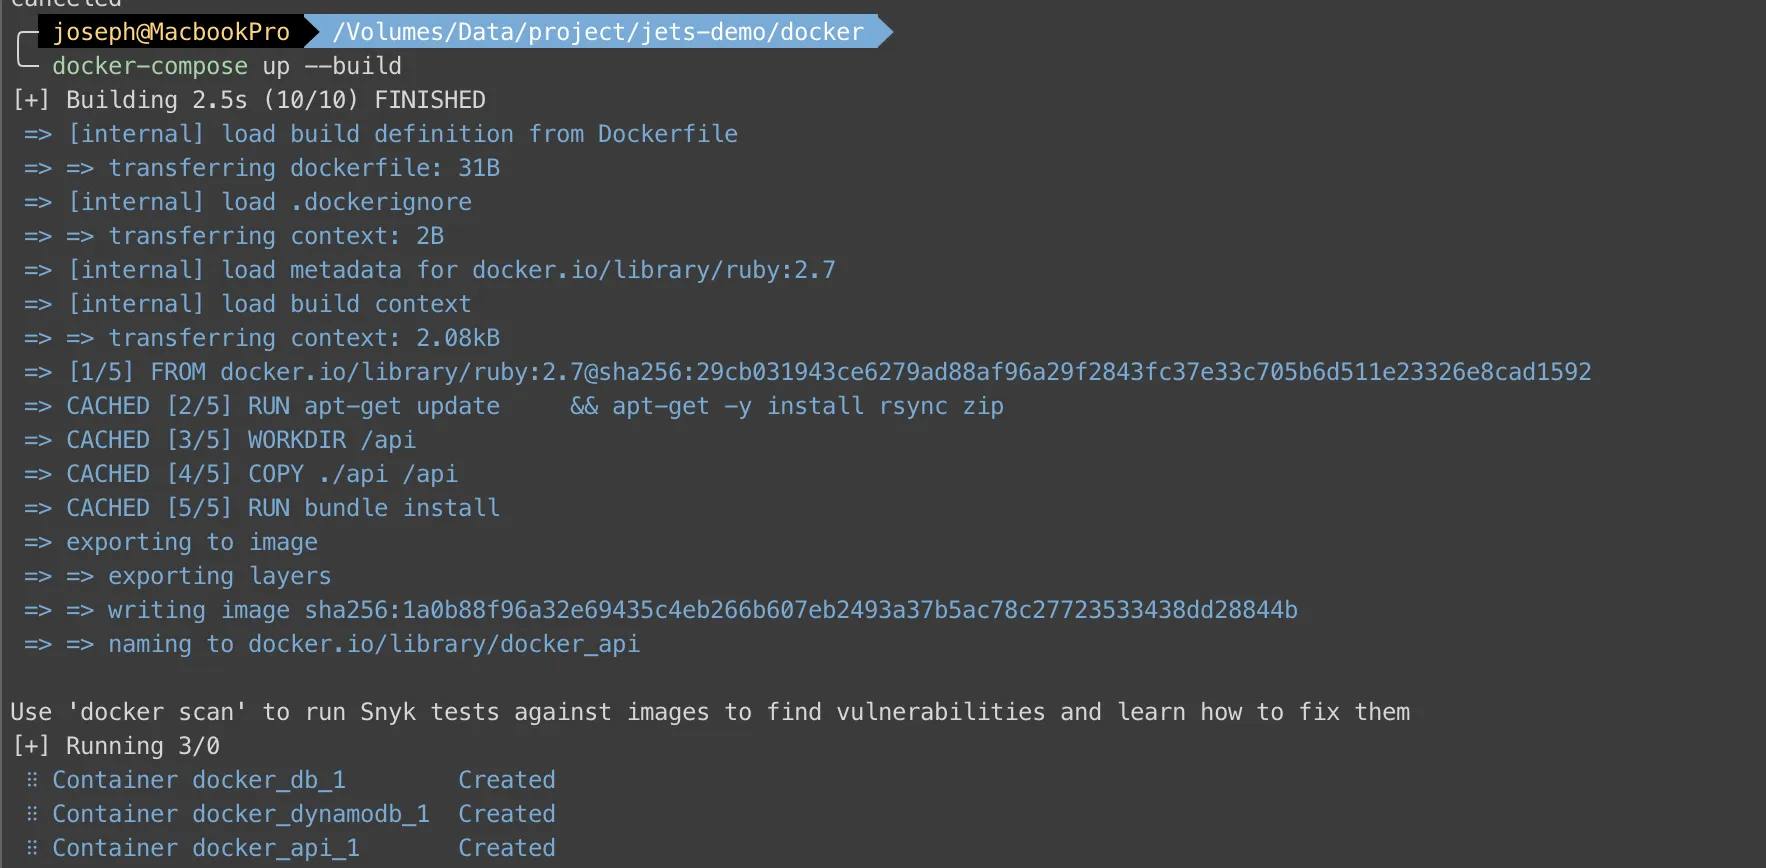
Now we can use docker-compose up --build to build api, db, and dynamodb containers. docker-build.png
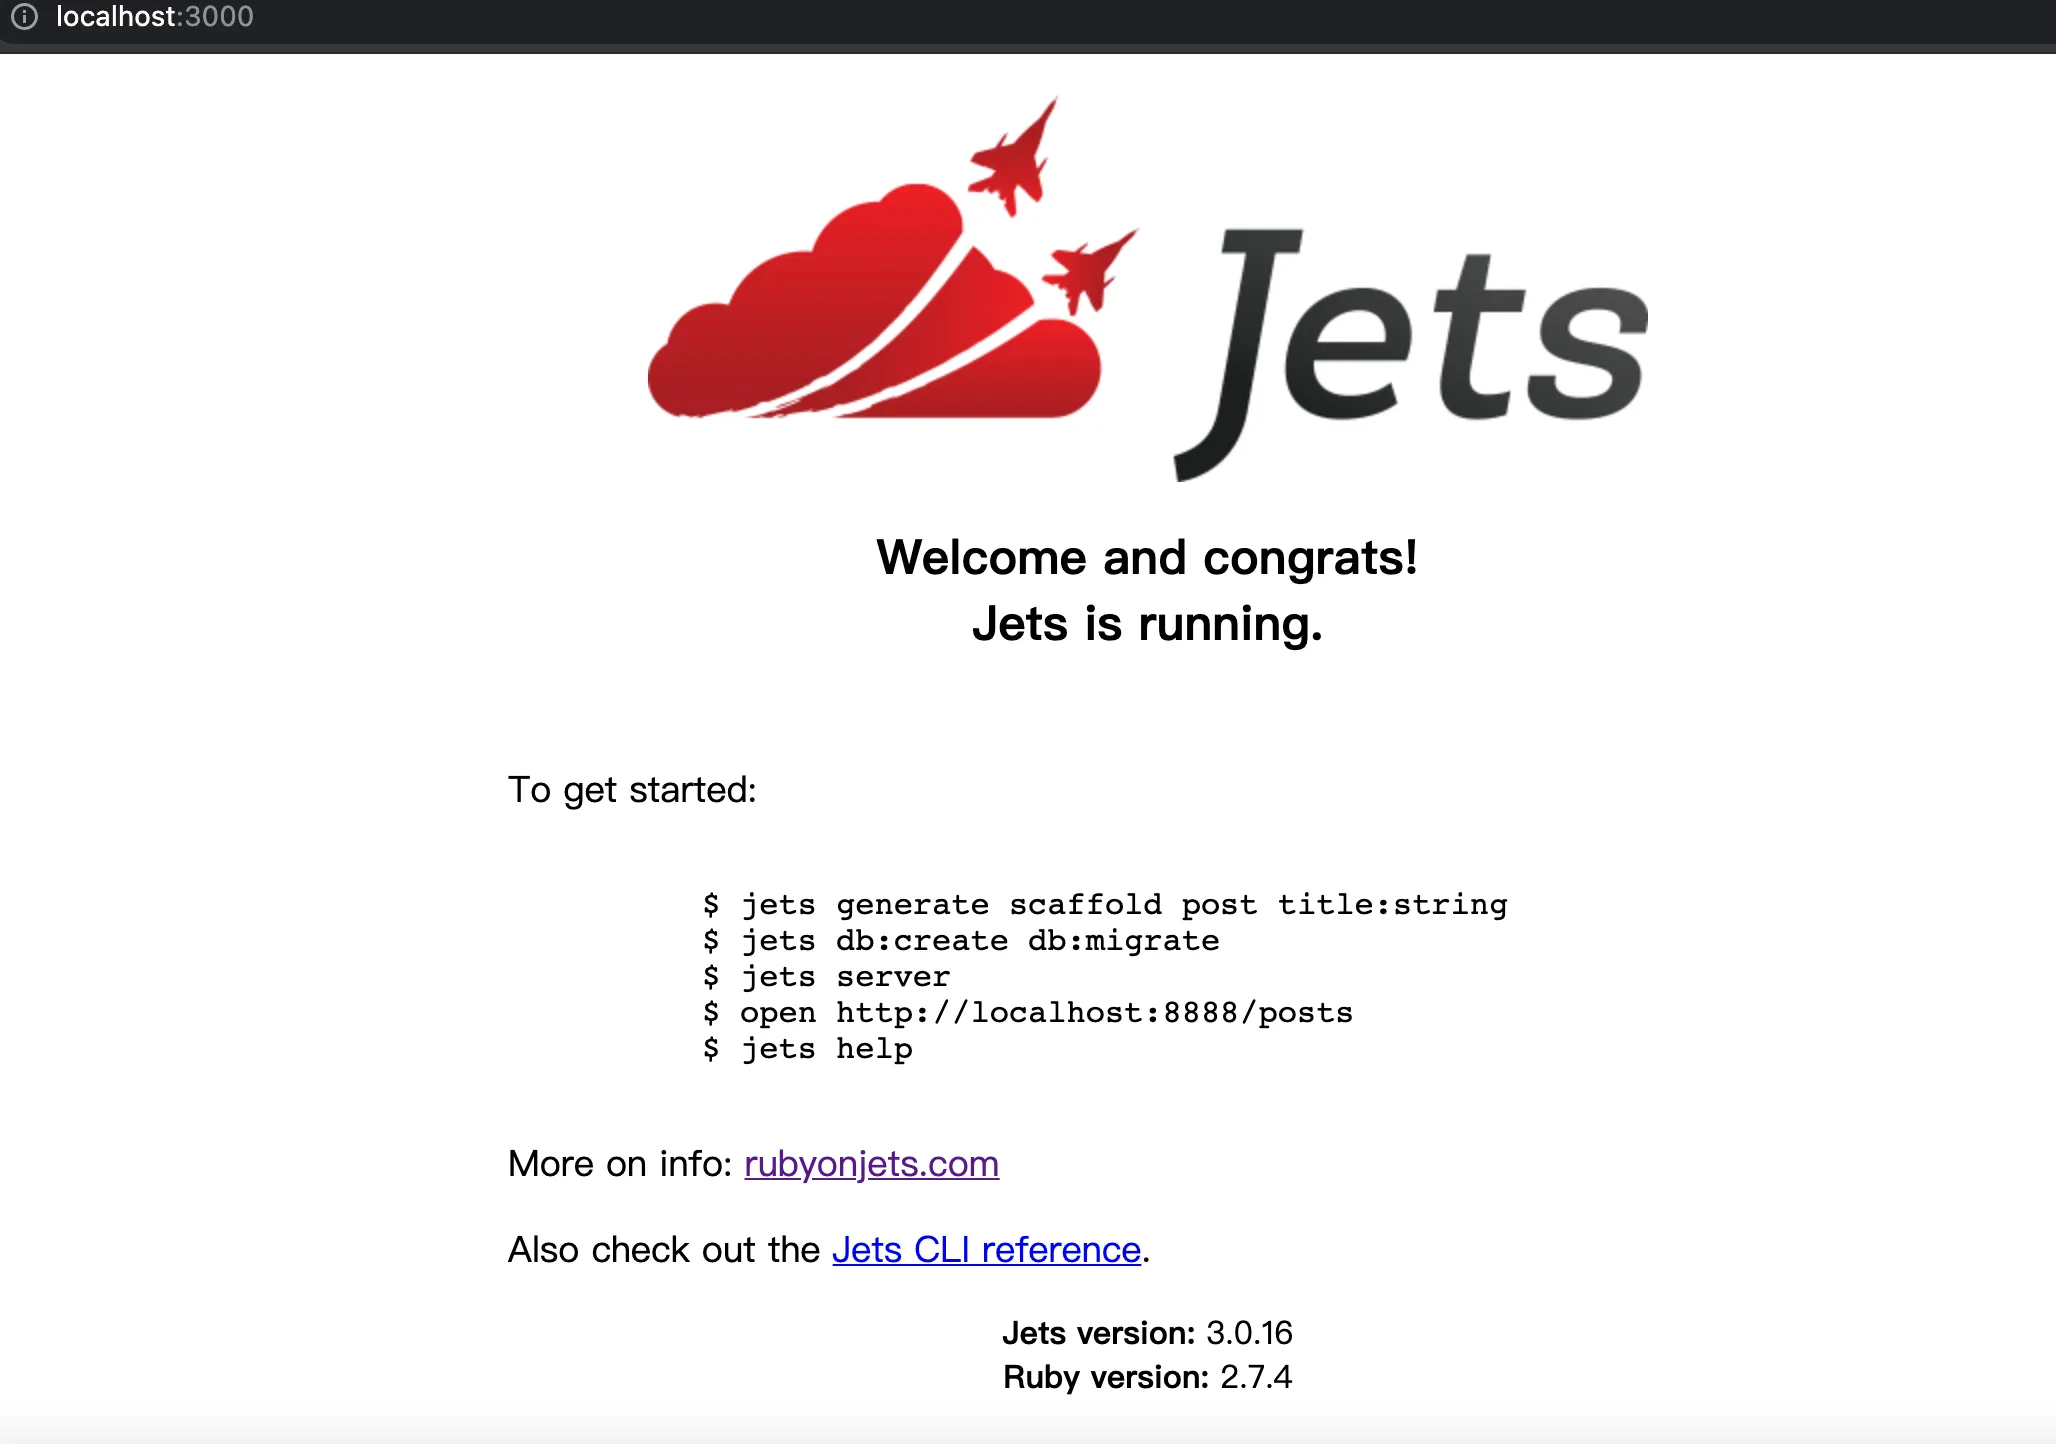
Can you see it? >> localhost:3000 localhost.png

Let’s CRUD

We have to grant DB user first:

In docker folder

$ > docker-compose exec db /bin/bash

In db container

root@db0c0d54dfef:/# mysql -uroot -p
mysql> GRANT ALL ON *.* to docker@'%';

After granting docker permission, we can generate scaffold, create database and install webpacker by using jets:

docker-compose exec api jets generate scaffold post title:string
docker-compose exec api jets db:create db:migrate
docker-compose exec api jets webpacker:install

Go to localhost/posts and see the result: localhost-posts
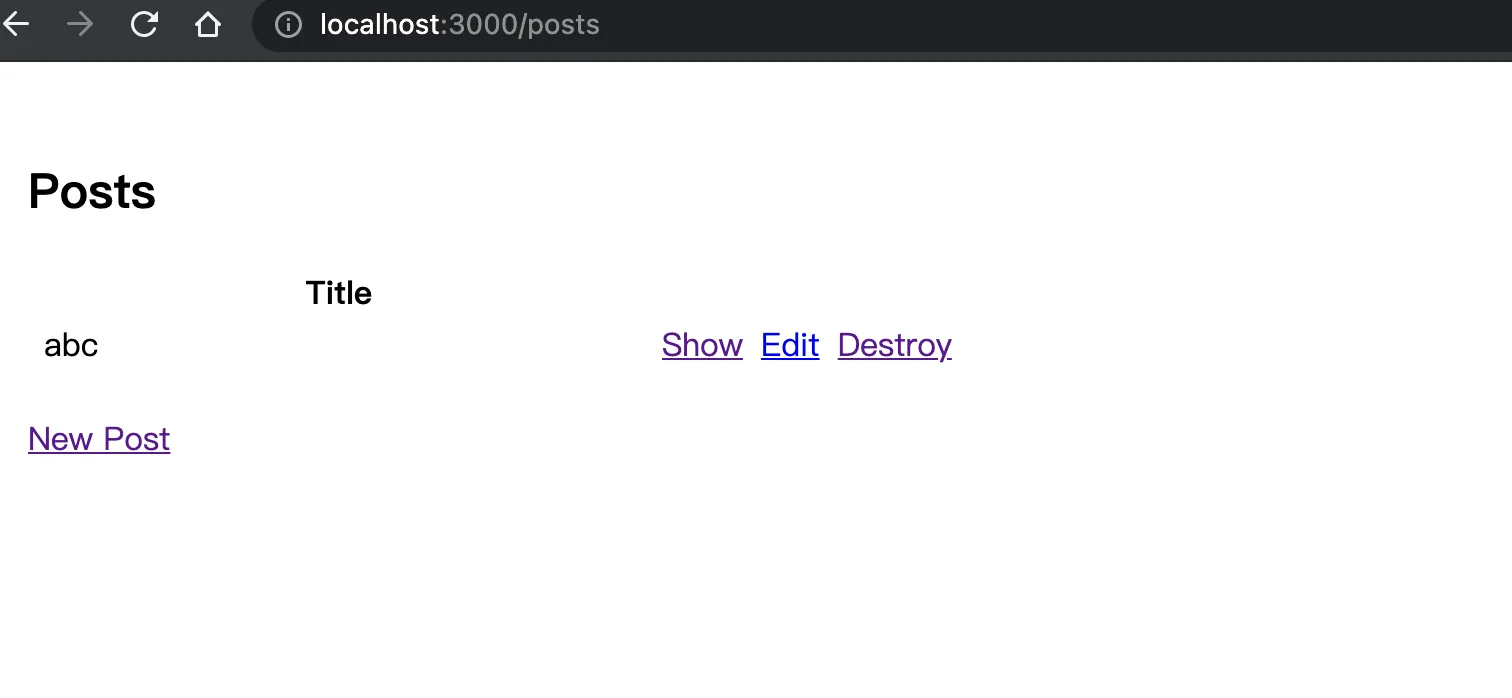
Finally, we are ready to deploy. env-file shows how to set environments. Let’s go to AWS RDS create a MySQL RDS, and set value to .env.development.remote. development-remote

Well done! Deploy it.

docker-compose exec api sh -c 'JETS_ENV_REMOTE=1 bundle exec jets db:create db:migrate'
docker-compose exec api sh -c 'JETS_ENV_REMOTE=1 bundle exec jets deploy'

jets-deploy

…Waiting…

We will get a URL, and we can get the page by clicking URL jets-deploy-done
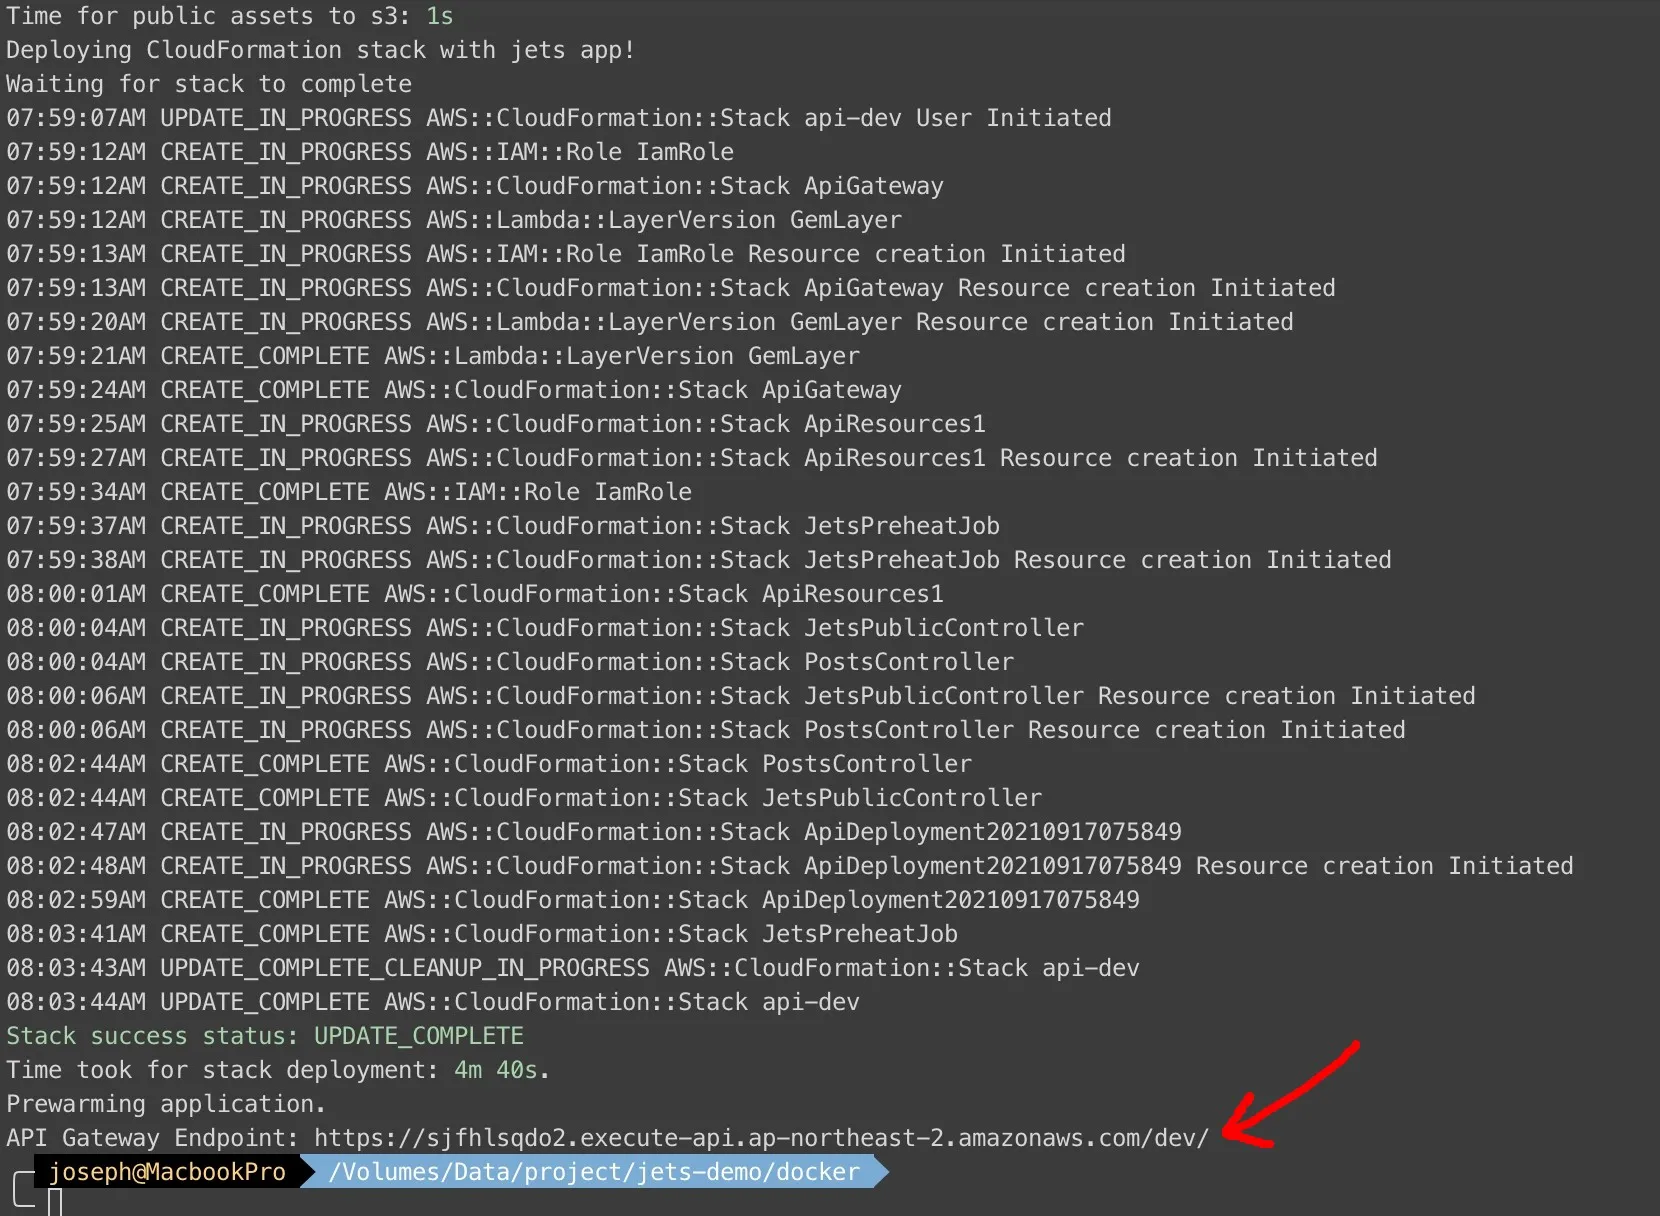
serverless-page

That’s all. But I have to mention that if you get ERROR: Limit Reached when you deploy, you need to check serverlessgems rate-limits page. That’s why we eventually used AWS CDK and changed the language to Typescript in our Firstage All-in-one blog.

Next time I will introduce AWS CDK and which services we use.

Back to Blog

Related Posts

View All Posts »
AWS Cloud Development Kit (CDK) project structure

AWS Cloud Development Kit (CDK) project structure

Previously blog I used NodeJs/Typescript as a backend and deployed with AWS Cloud Development Kit (AWS CDK). The same framework, but more complex than the sample, is used on our Firstage. So this post I will show how we structure our AWS CDK project codebase. Project Structure project structure

Using Firebase and Firestore with NextJS and Docker - Part 1 - Setup firebase in docker

Using Firebase and Firestore with NextJS and Docker - Part 1 - Setup firebase in docker

Last year, I got a case to use firebase and firestore with Next.js. I've been fullstack many years, so I haven't tried to use firebase and firestore. There was a great chance to give it a try. In this article I'll show how to use firebase and firestore in Docker and Next.js. If you don't have backend support, or you don't want to build whole backend, database, and infrastructure, you would probably think this is a useful way.

Switching from vim to Neovim!

Switching from vim to Neovim!

I've been using Vim for a long time and finally switched to Neovim. The initial thought of switching came after the author of VIM passed away in August 2023, as I didn’t have the time to try other editors. After a year, “vibe coding” grew up, so I started thinking how to integrate AI into my editor and surveying how to use AI in Vim, which led to this journey. TOC Main differences Tab vs. Buffer: ref: https://www.reddit.com/r/neovim/comments/13iy0p0/why_some_people_use_buffers_for_tabs_and_not_vim/ In vim, I used vsp or tabnew to open or edit a file and mapped tabprevious command with Tab key to navigate between tabs. However, in Neovim, I used buffer instead of tabs and mapped BufferLineCyclePrev with Shift + h for switching buffers. coc vs. native lsp: I configured many coc settings to support TypeScript and JavaScript language servers, including linting and Prettier on save, go-to definition or reference, and codelens. After using Neovim, I converted all of these settings to nvim-lspconfig and mason, among others. Lua supports: Although I’m not familiar with Lua, it allows me to write more readable configuration files using modules, functions, and tables (objects) for Neovim. AI supports: Vibe coding! I found many plugins to integrate LLMs and finally selected three to use: avante.nvim Let your Neovim be a Cursor AI IDE – it's undergoing rapid iterations and many exciting features will be added successively; it updates almost every day! CodeCompanion CodeCompanion can customize workflows and prompts, and its Action Palette is a really useful tool. gp.nvim GP means GPT Prompt, and it's an Neovim AI plugin. It helps me write prompts through Neovim's cmdline. I usually switch between these plugins, and I'm still thinking about my 'vibe-way' to use them. Because of supporting Ollama LLM, all of them can be used offline. For now, I've used Neovim for three months, and got to know Neovim. In my experience, Neovim is really more productive than vim. Reference AI in Neovim How to set up Neovim for coding React ZazenCodes Neovim Rewrite by Avante + Ollama gemma3:4b ------ For a long time, I relied on Vim for my coding. However, after Bram Moolenaar’s passing in August 2023 – a significant influence in the Vim community – I decided it was time for a change. I began exploring alternative editors, ultimately settling on Neovim. This journey wasn’t just about switching editors; it was about integrating AI into my workflow and redefining my coding experience. Key Differences: Tabs vs. Buffers One of the first things I noticed was the shift from tabs to buffers in Neovim. In Vim, I frequently used vsp or tabnew to open or edit files, navigating between tabs with the Tab key and Tabprevious command. Neovim, however, utilizes buffers, offering a more streamlined approach. I configured BufferLineCyclePrev with Shift + h for seamless buffer switching, alongside nvim-tree/nvim-web-devicons and akinsho/bufferline.nvim. Leveraging Language Servers with coc and nvim-lspconfig I configured many coc settings to support TypeScript and JavaScript language servers, including linting and Prettier on save, go-to definition or reference, and codelens. Recognizing the power of language servers, I then converted all of these settings to nvim-lspconfig and mason.nvim, streamlining my development environment. Lua Configuration for Readability Although I’m relatively new to Lua, it allows me to write more readable configuration files using modules, functions, and tables (objects) for Neovim. Here’s a snippet of my configuration: AI-Powered Productivity with avante.nvim, CodeCompanion, and gp.nvim To truly elevate my coding experience, I integrated several AI plugins. I selected: avante.nvim**: This plugin transforms Neovim into a Cursor AI IDE, undergoing rapid iterations and adding exciting new features daily. CodeCompanion**: This plugin allows for customizable workflows and prompts, with a particularly useful Action Palette. gp.nvim**: (GPT Prompt) – This plugin helps me write prompts through Neovim’s command line interface, leveraging folke/noice.nvim. Because of supporting Ollama LLM, all of these plugins can be used offline. I’m still experimenting with how to best utilize these plugins – a “vibe-way” to coding! Resources for Further Exploration AI in Neovim How to set up Neovim for coding React ZazenCodes Neovim